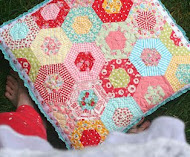
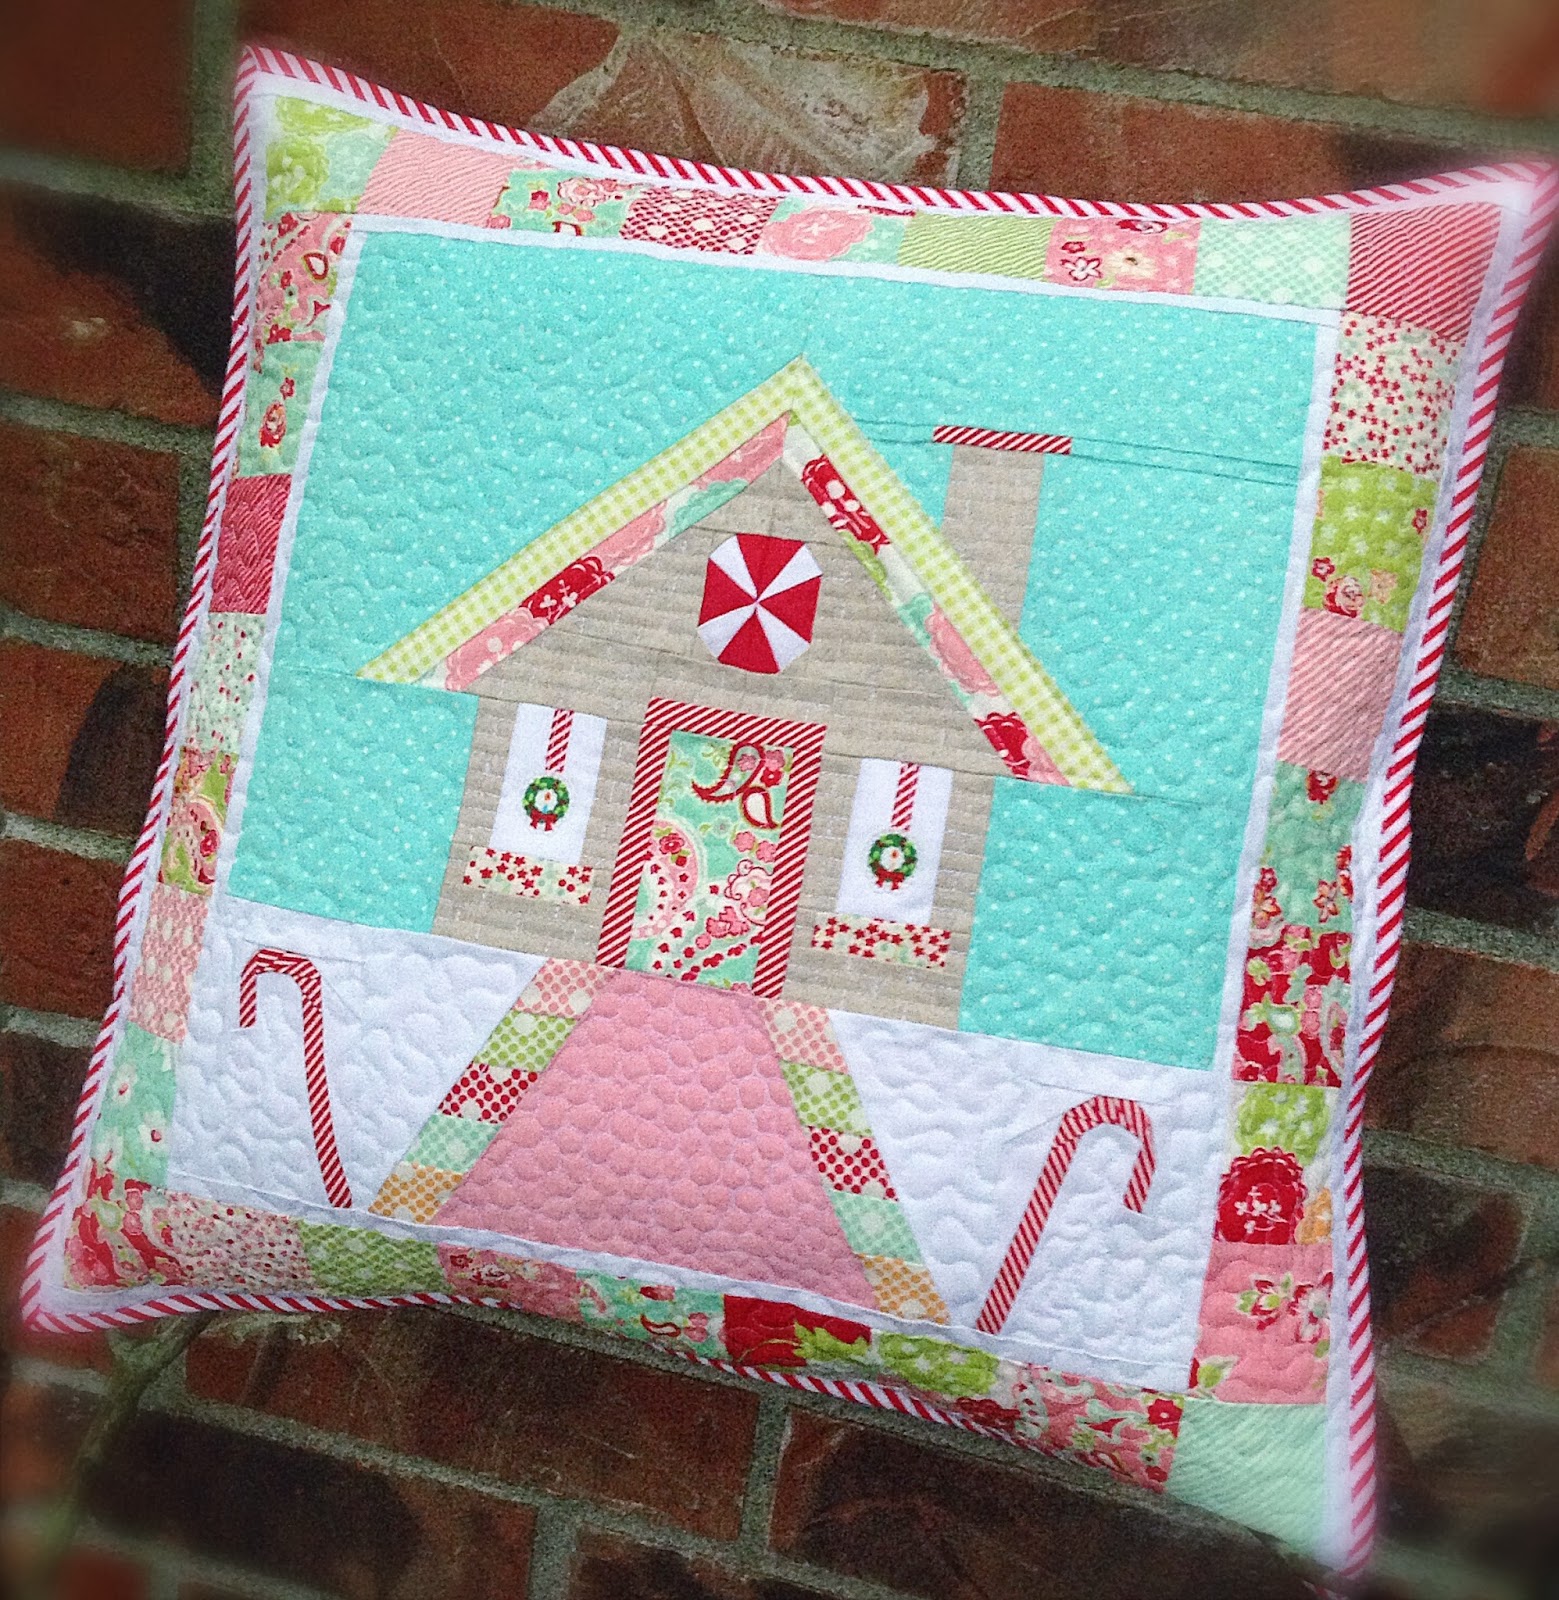
Thank you so much for all your kind words in my last post on my cathedral windows! I'm so glad you are interested in seeing how I made them. I truly enjoyed making this lovely pillow and I think you will too.
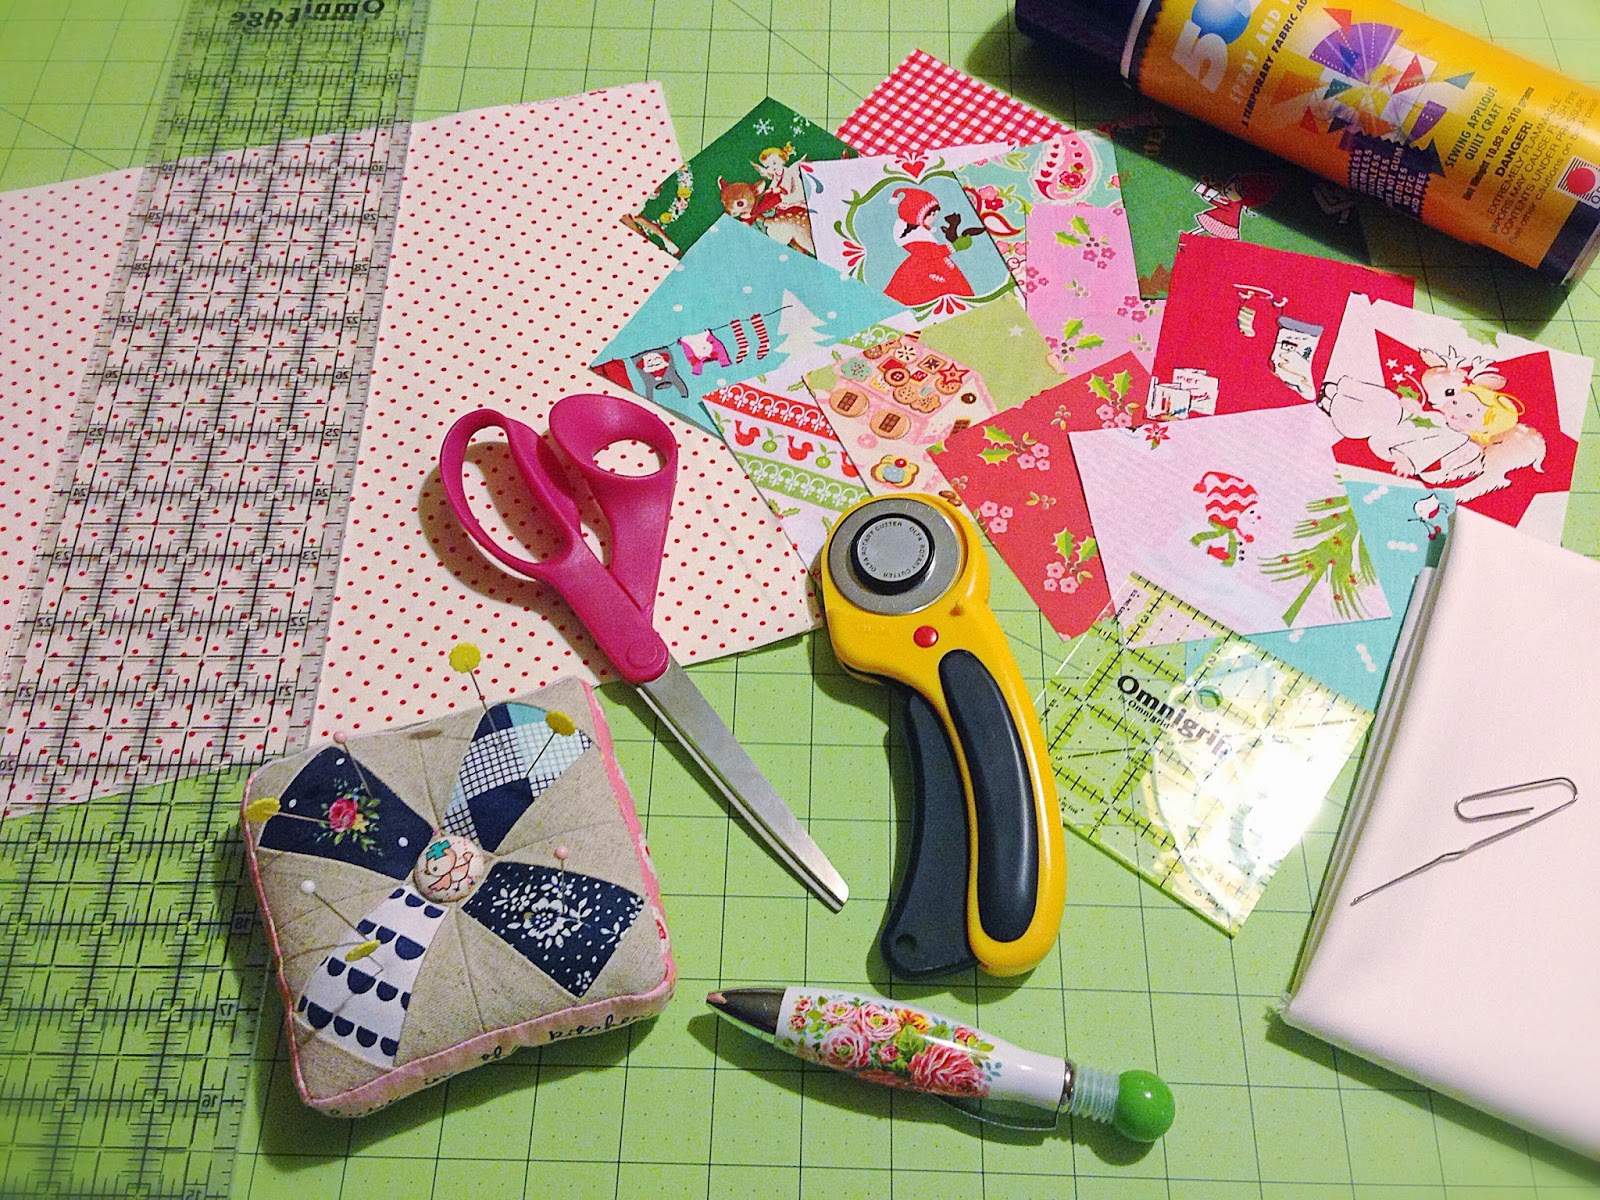
Here is what you need to get started~
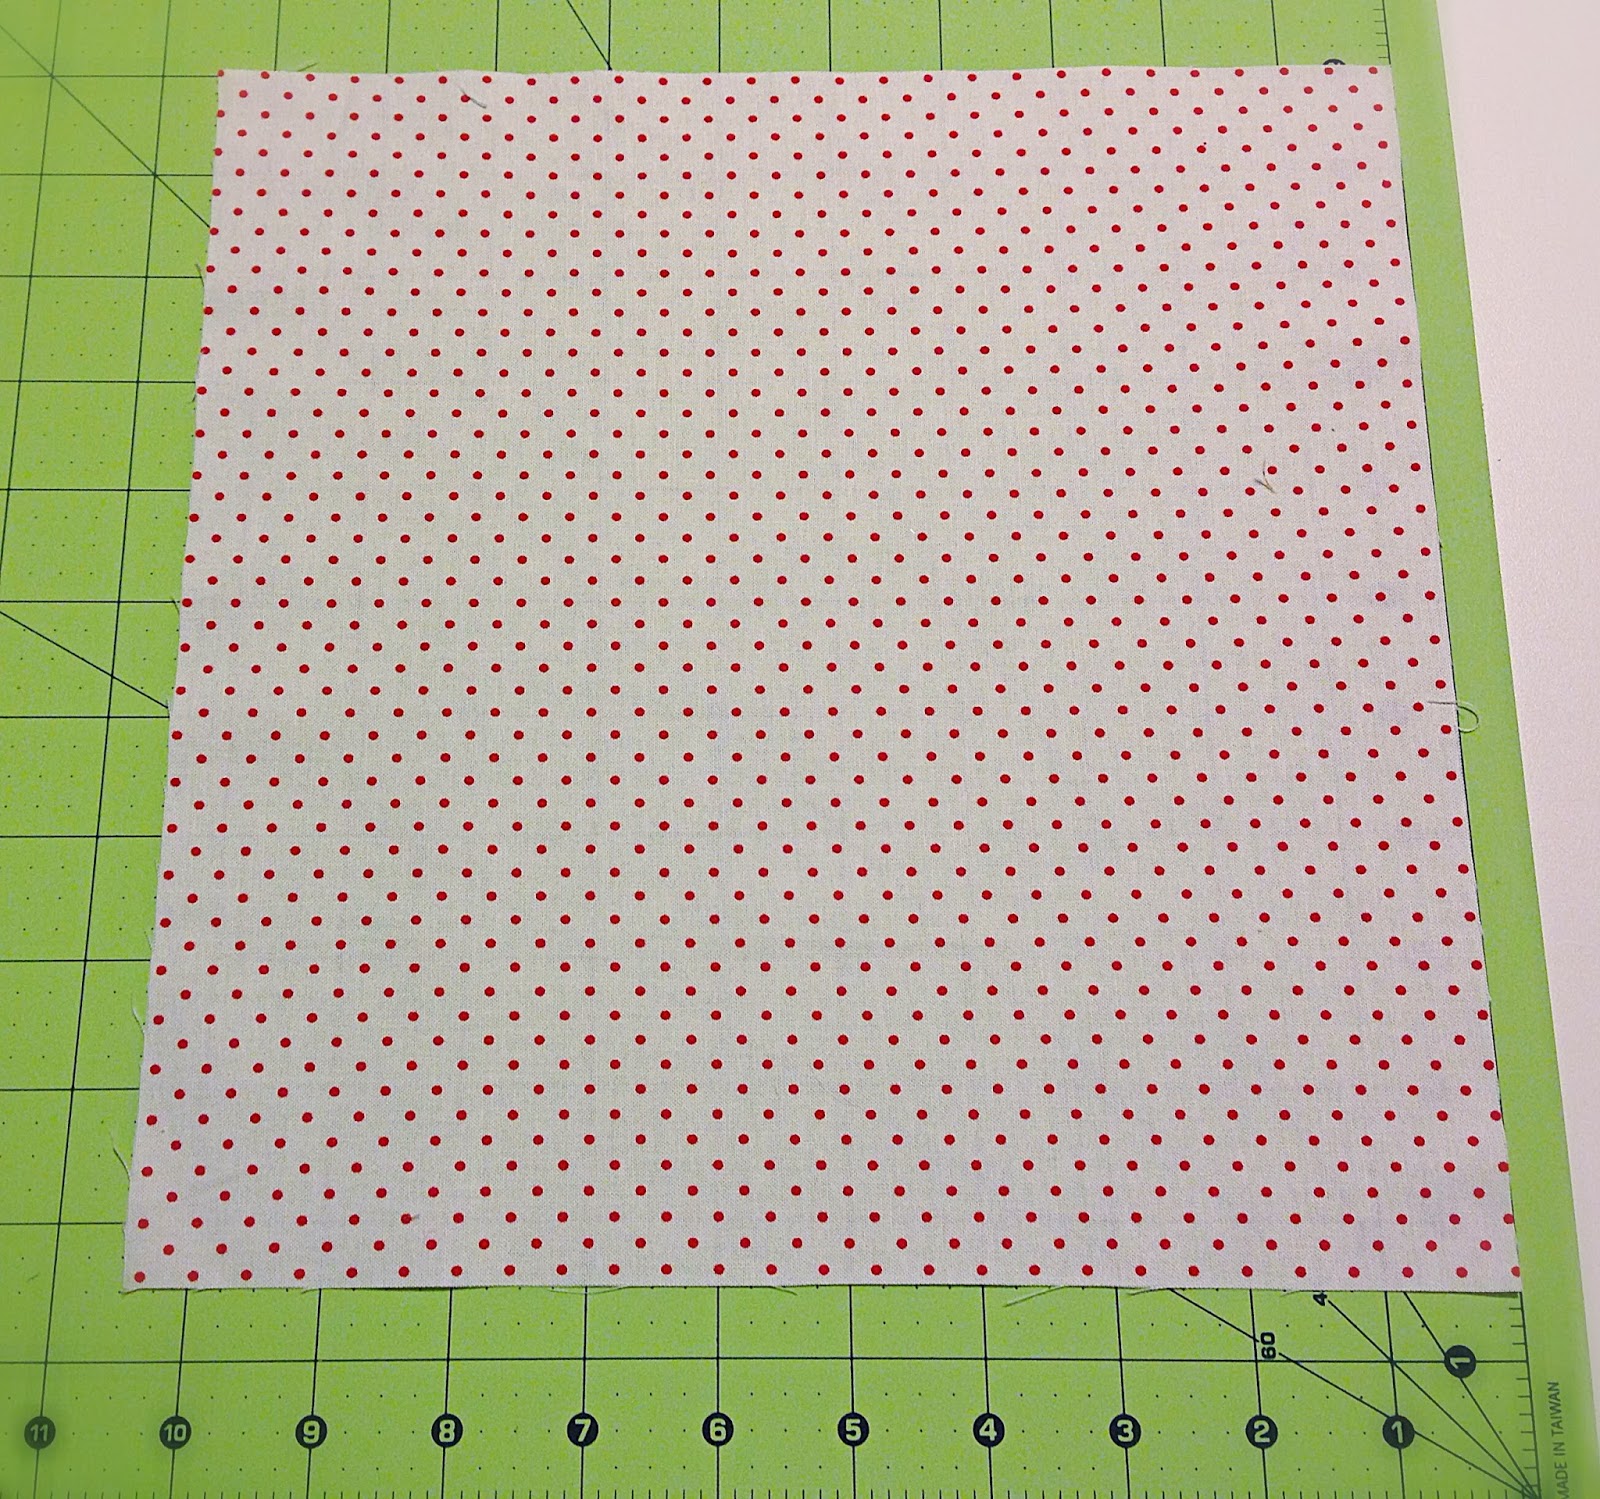
16, 10 1/2 inch squares (background polka dot fabric)
24, 3 1/8th inch squares (patterned center squares)
Rotary Cutter and Ruler
3 1/2 inch Square Ruler (to get those fussy cuts and then I trimmed them down to 3 1/8th square)
Sciccors
22 X 22 inch solid fabric
Backing fabric for pillow
Pen
Safety pin or tool to do points with
Pins
Spray fabric adhesive (optional)
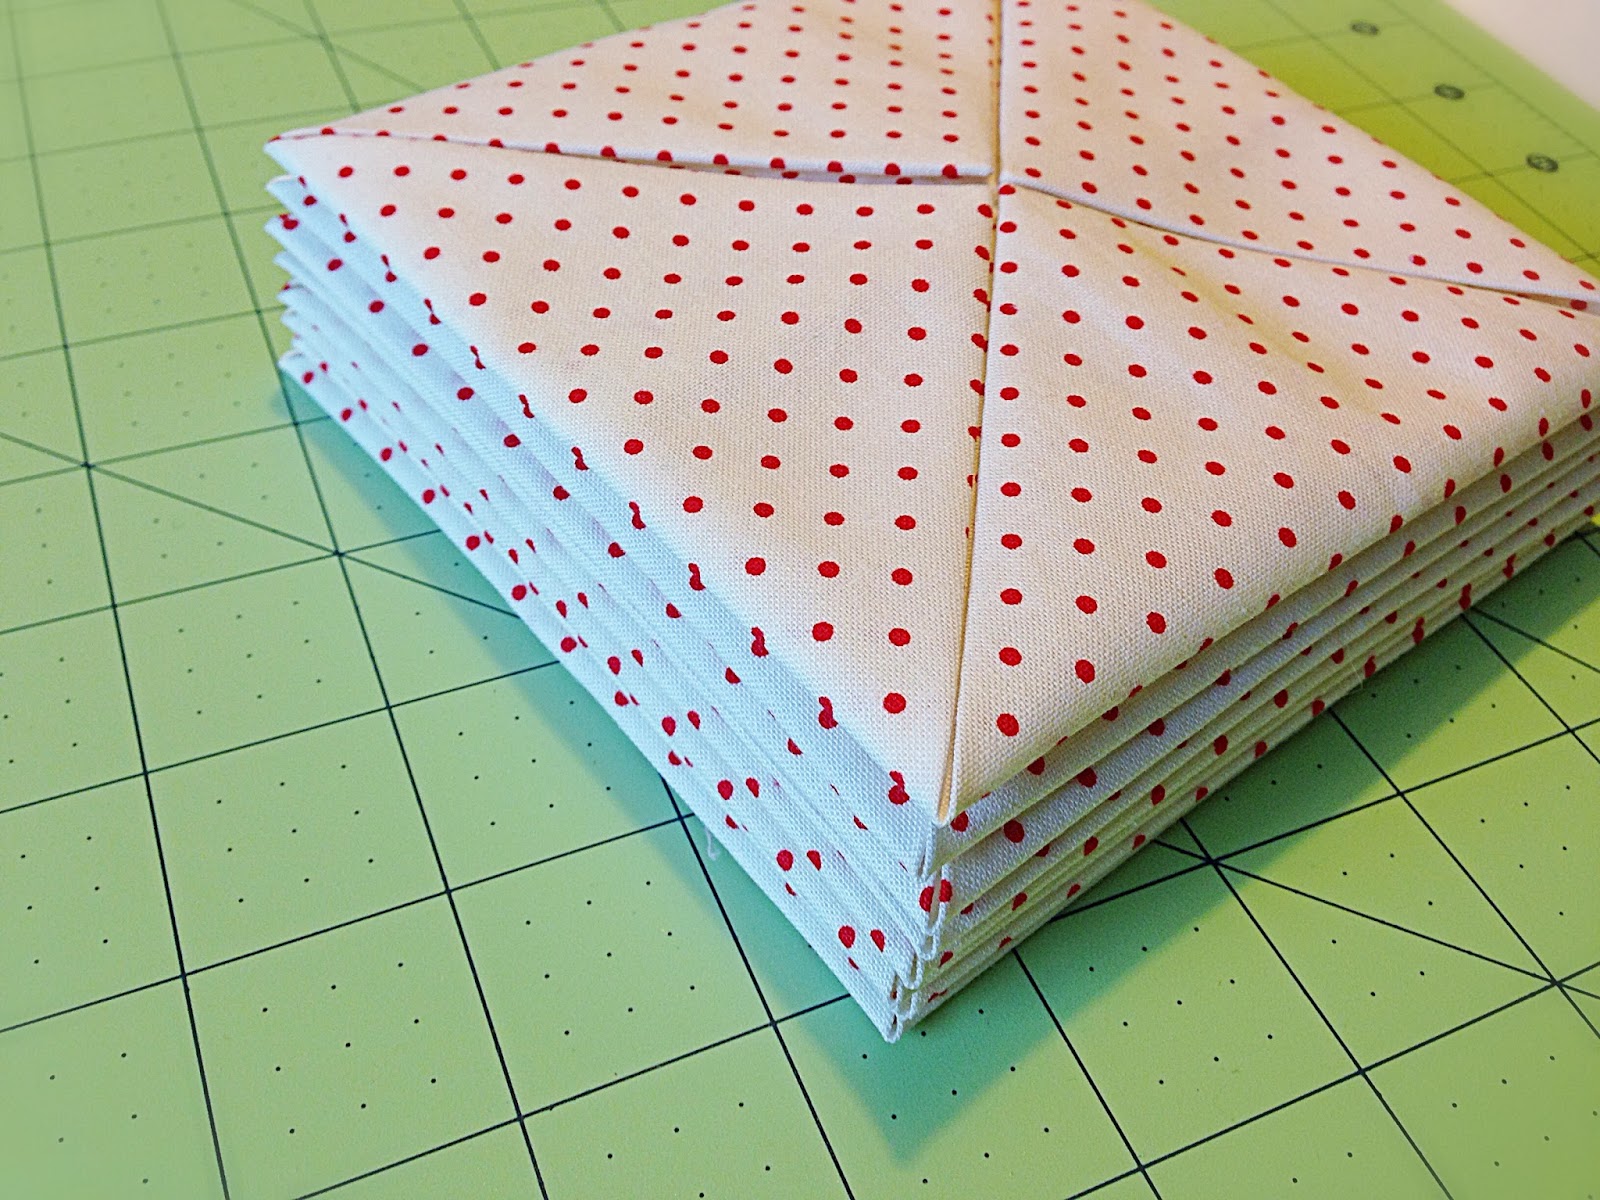
Cut 16, 10 1/2 inch squares from your background fabric. This is probably the most important step...to make sure they are perfectly square so you don't have problems later on.
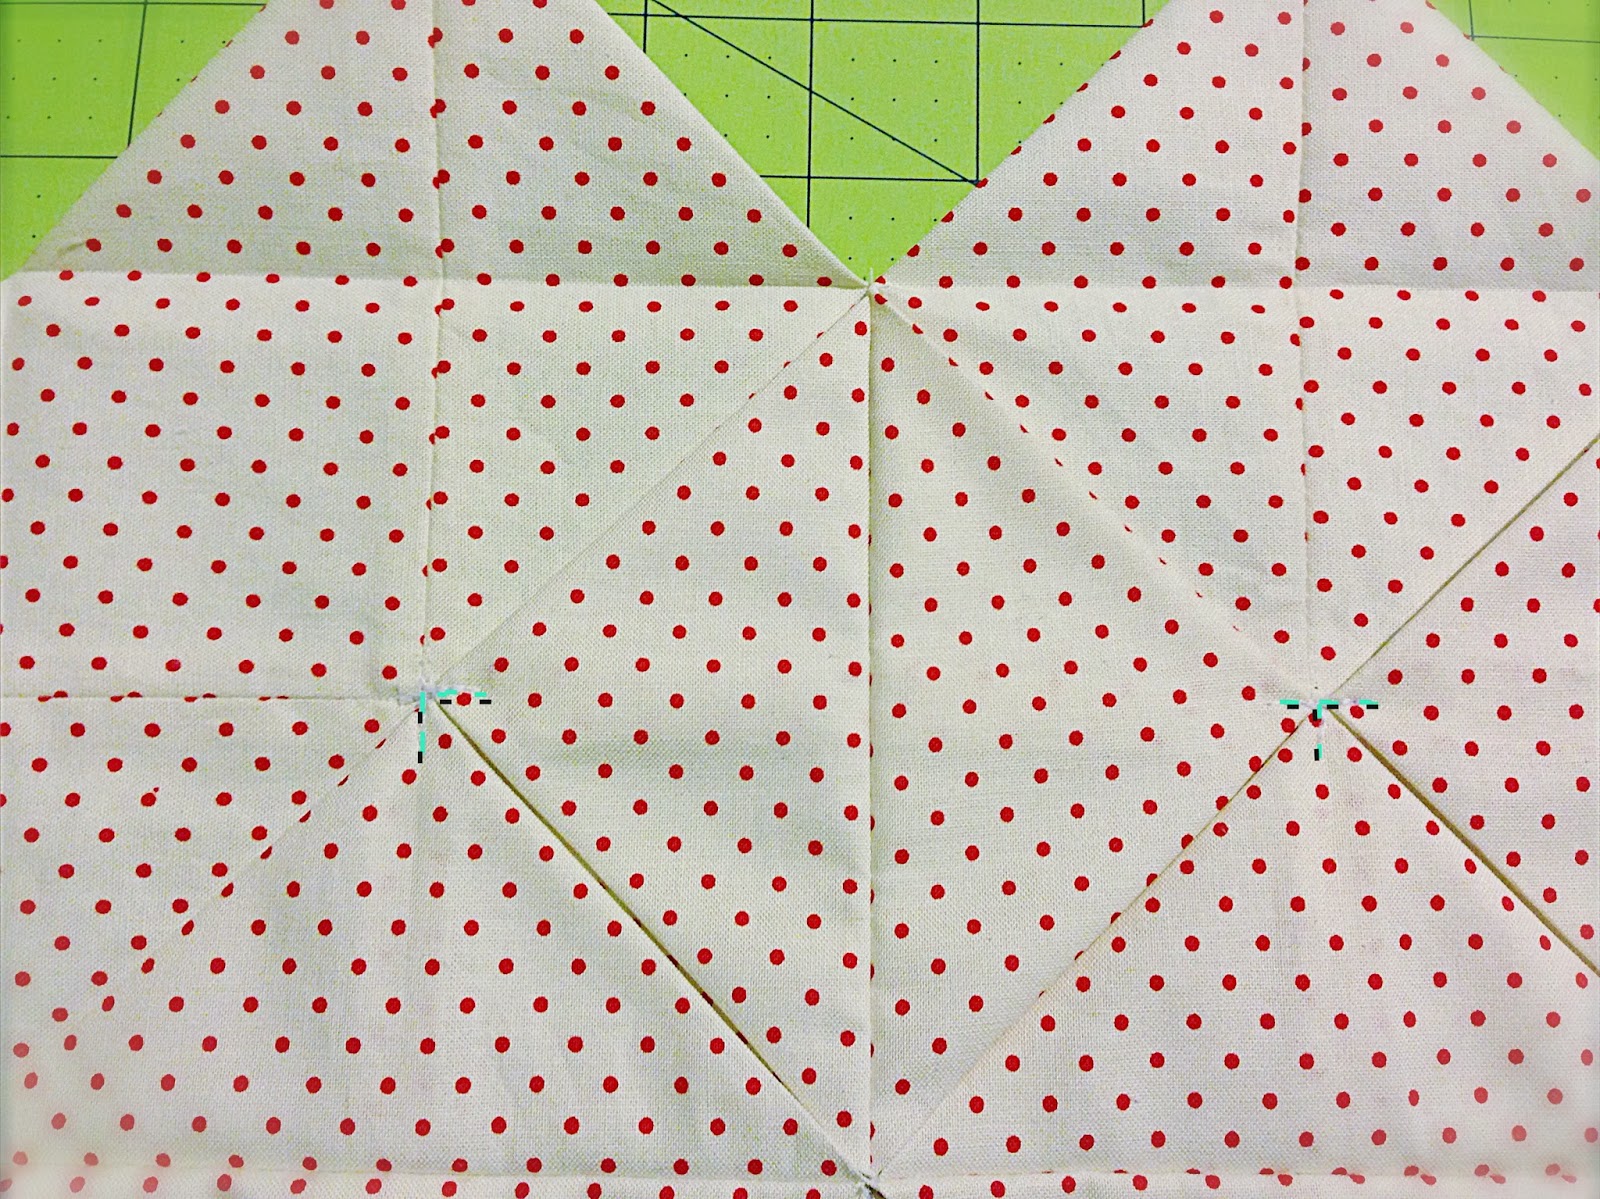
Fold in half with right sides together and stitch 2, 1/4 inch seams, one on each side.
From the last picture pull open your fabric and match the seams (where I have two pins, one on each side of the seam) you have just sewn. Pin in place. Stitch a 1/4 inch seam but leave an opening. I marked where I wanted my opening to be so I didn't forget. You need the opening for later on when we turn it right side out.
With your scissors trim your four corners at the points. Make sure not to cut your stitches.
Press your seams open
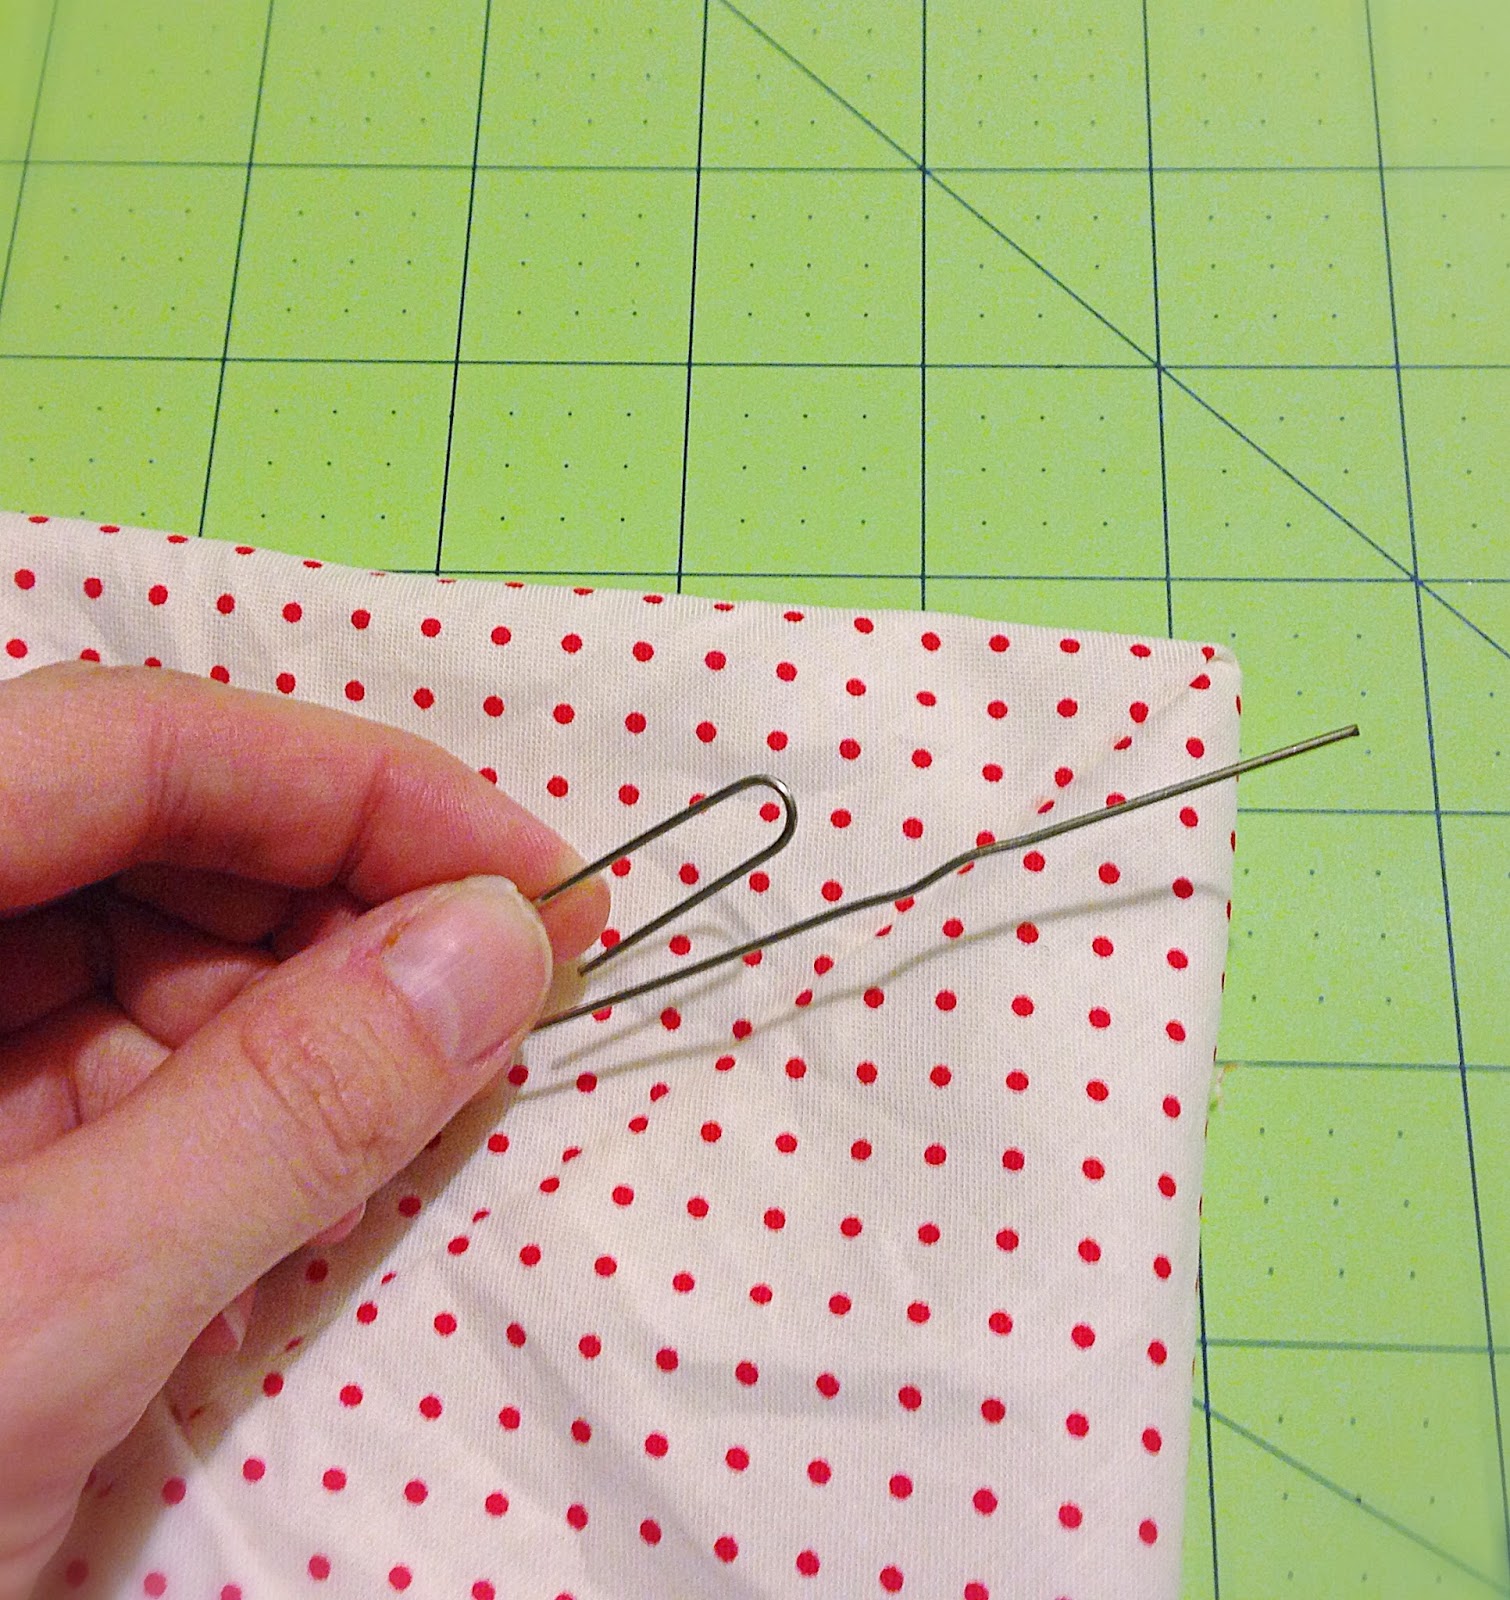
Turn your square right side out.
For the corners use your preference of tool (I used a safety pin) and turn your corners so they have nice pointed corners. Don't worry about the opening, we don't need to close it up. Now press again.
Make sure to press neatly so it doesn't get distorted. Also, check and see if it is still square. We don't want to have problems later on when joining them.
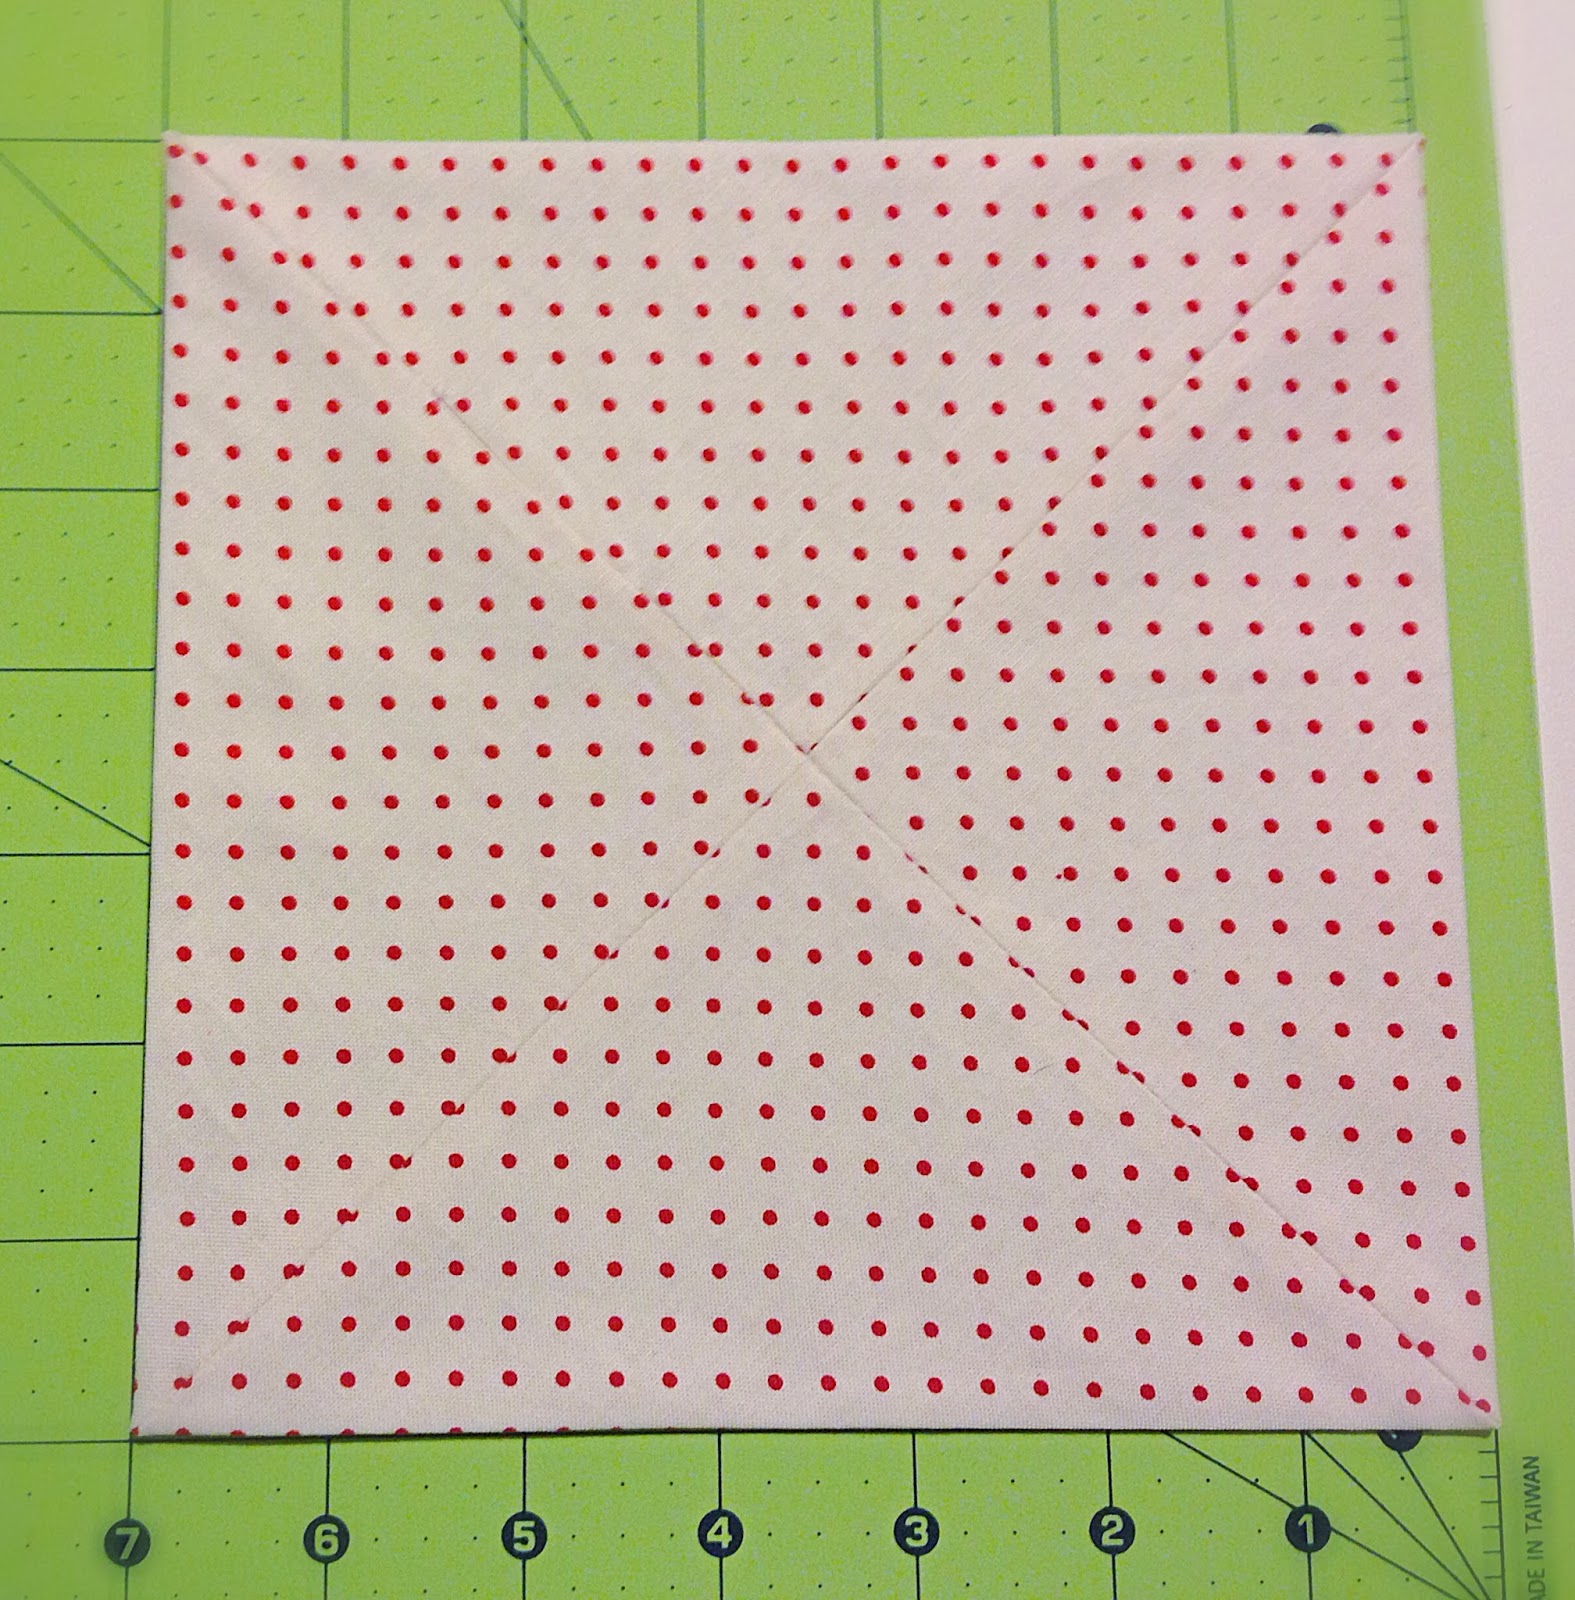
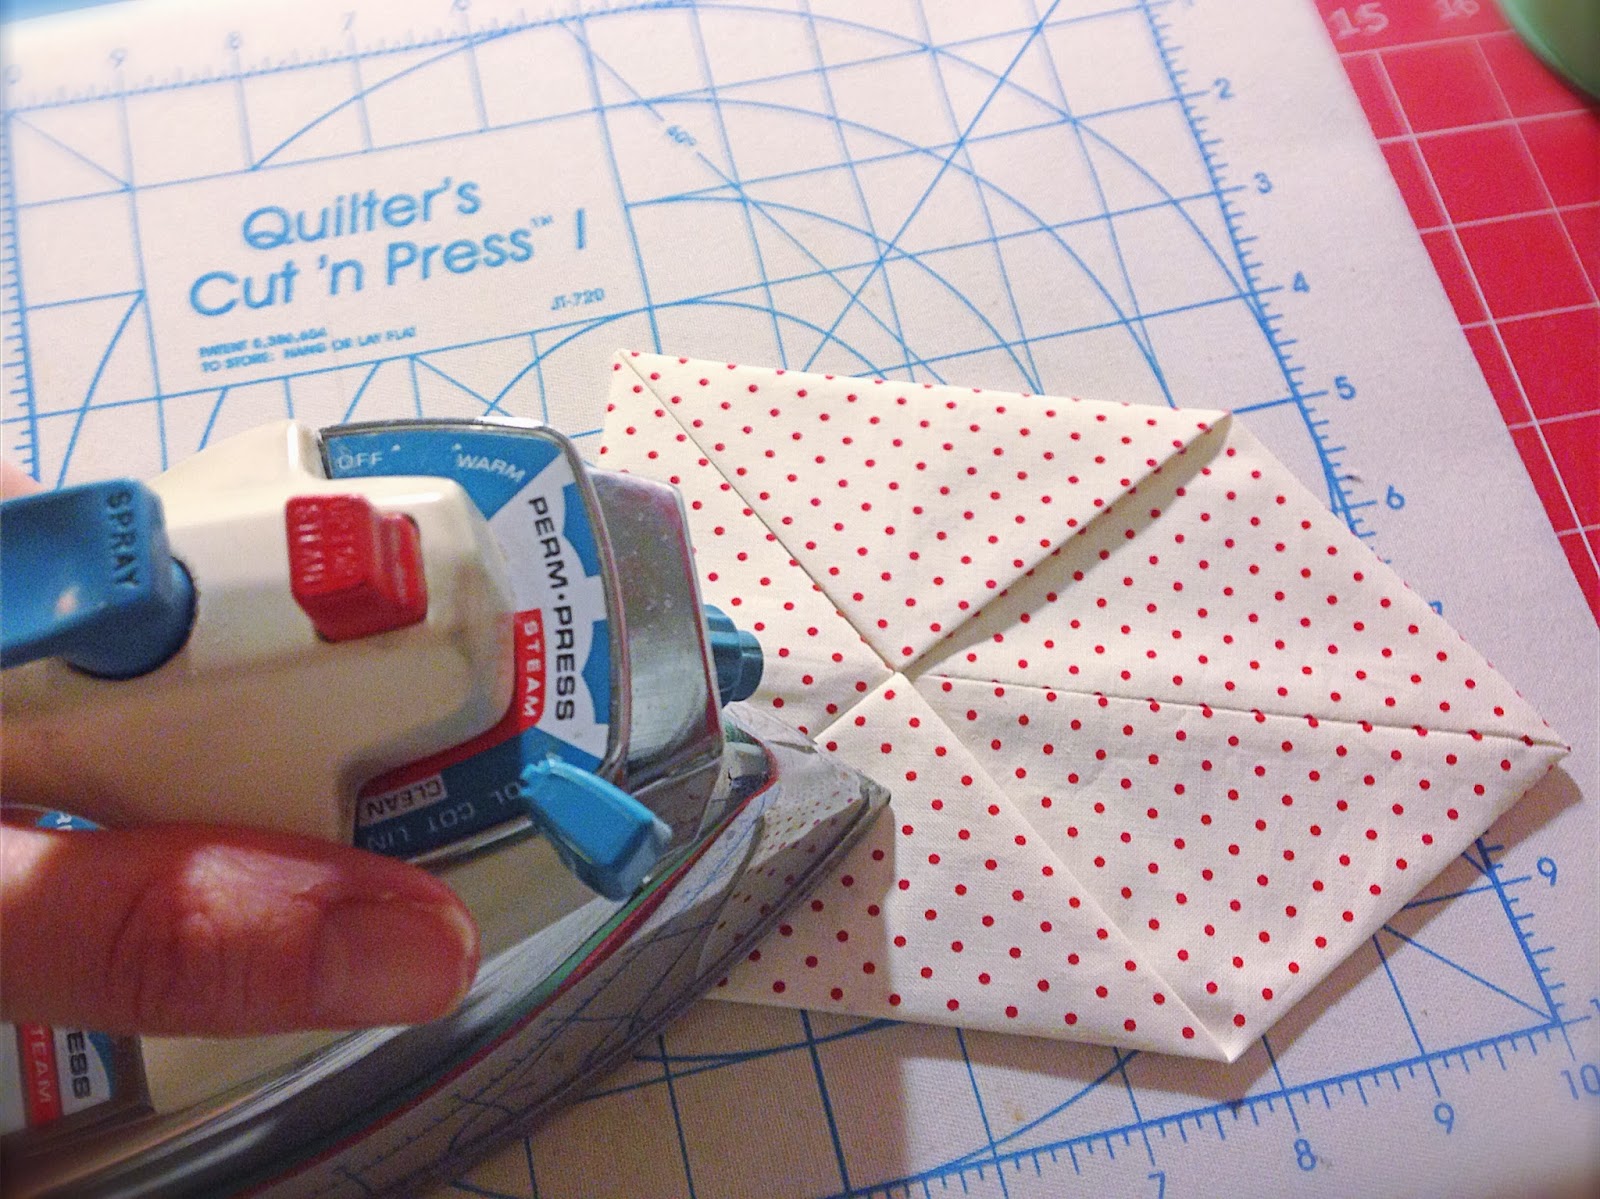
Now we are going to fold the corners into the center and iron it.
I used my vintage iron because it presses really flat. If you have a newer
iron make sure to use steam to get those corners nice and flat.
Go around to each corner and press it into the center.
Check again and make sure it is square. It should be 5 inch square at this point. If it isn't square then when you sew them together you will get holes in between.
Follow all the steps above until you have all 16 finished. At this point though we are going to work with 8 of them.
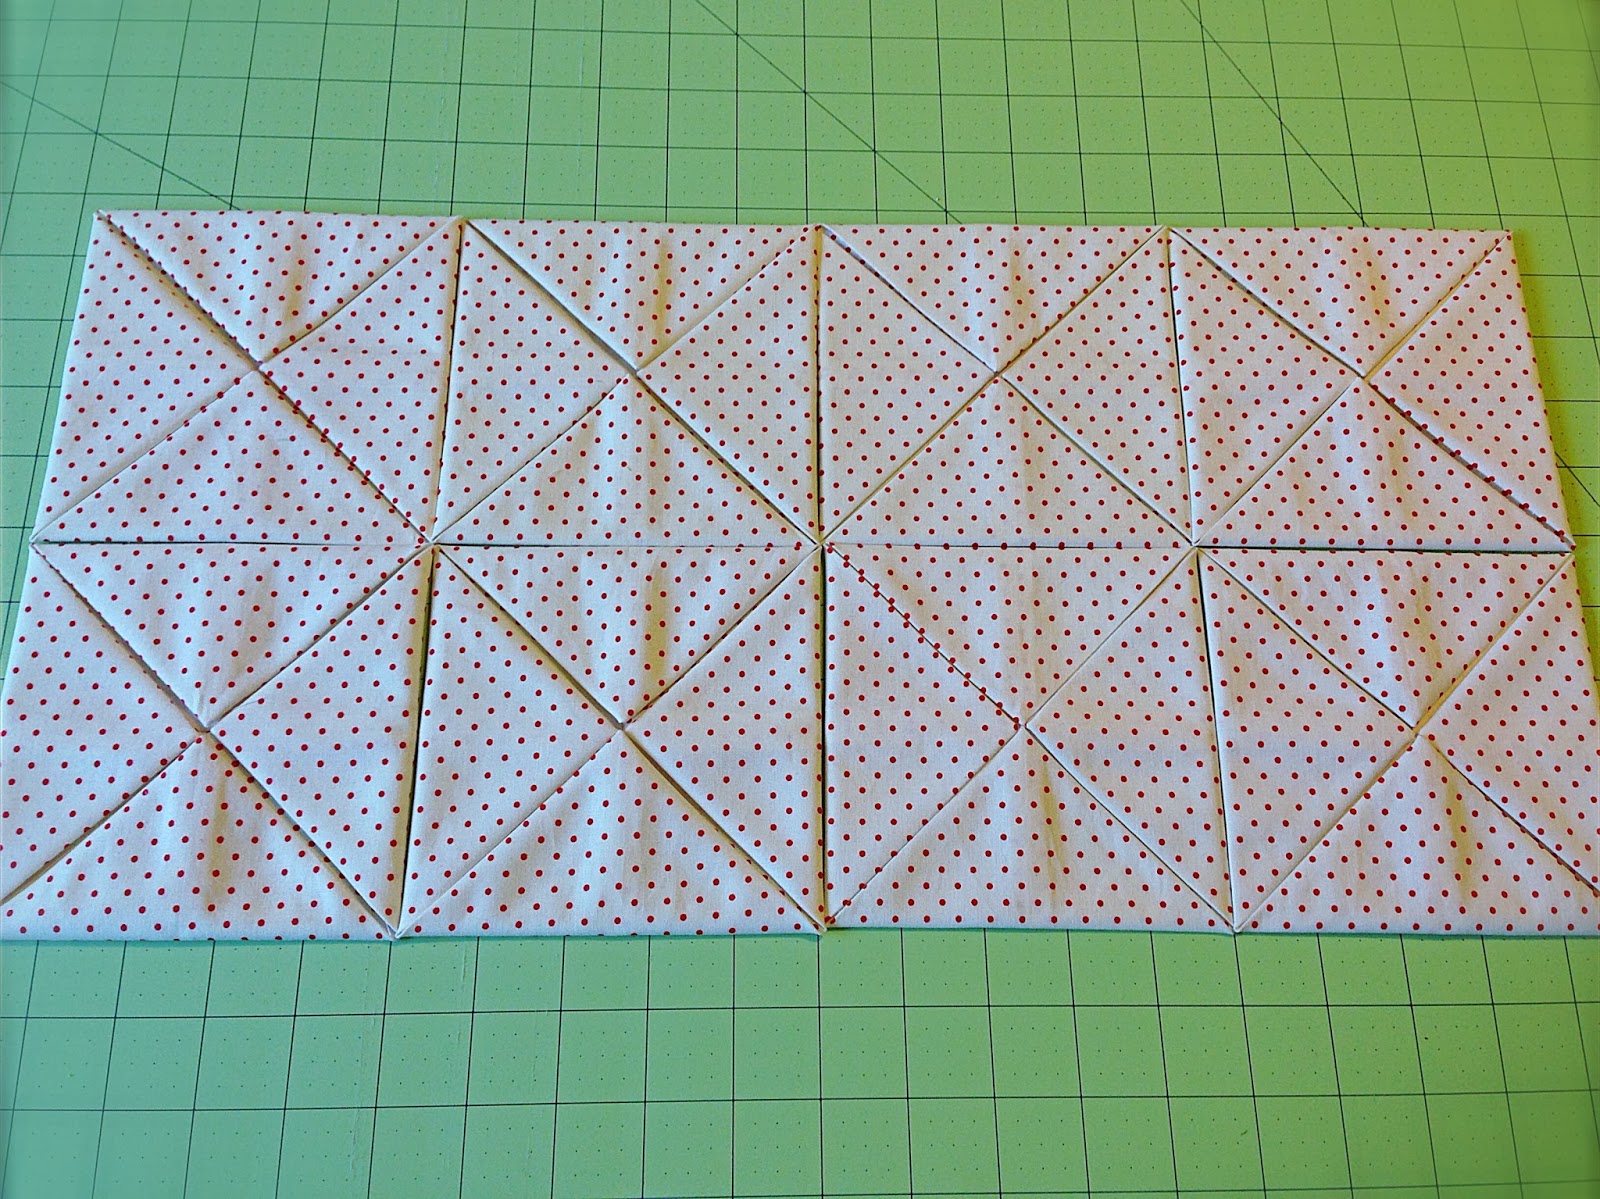
Lay out your eight squares as we are going to get ready to stitch them together.
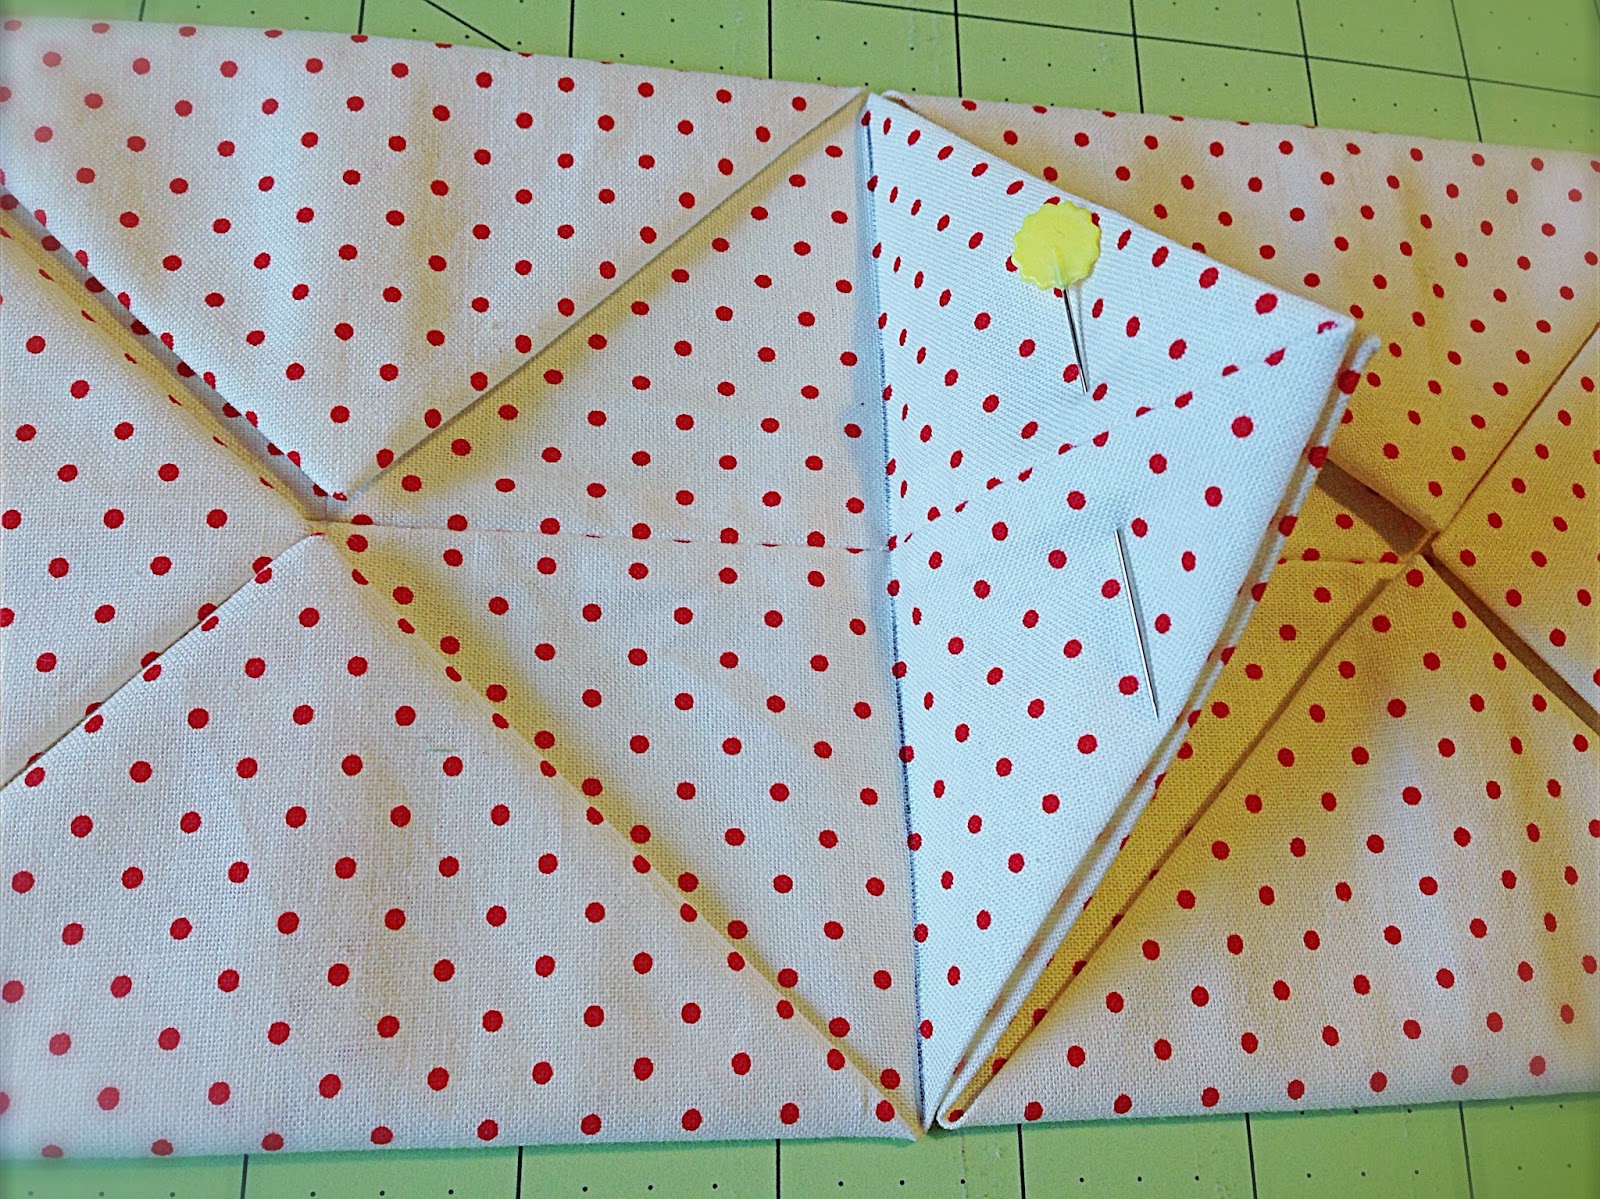
Open your right triangle flap of your first square and your left triangle flap of your second square and pin them together.
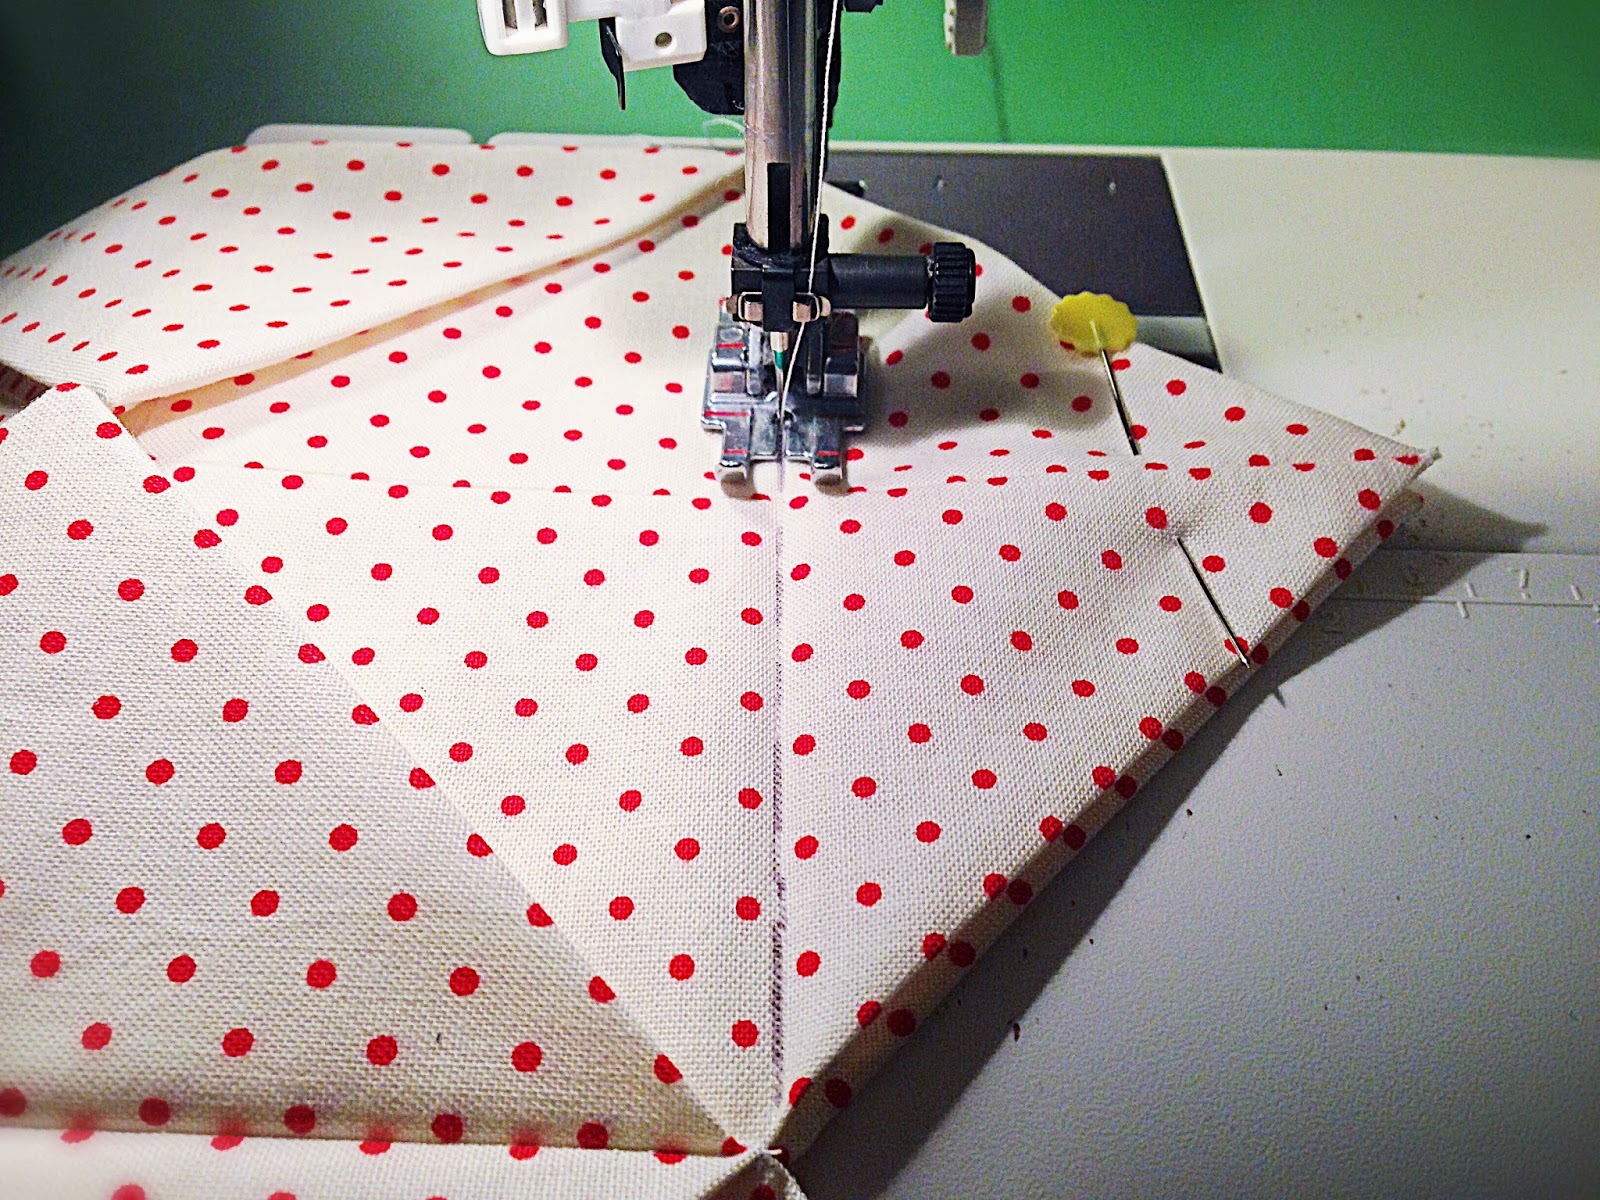
On your right triangle flap there is a nice crease from when you ironed. I like to mark it with a pen so when I stitch I can see it well. Then you place your second square under your first square with the flaps hanging out. See next picture.
Stitch on the crease that you marked.
Keep going till you have your entire first row stitched together.
Now stitch together your second row.
Now we are going to stitch the two rows together. Take the bottom triangle flaps from the top row and the top triangle flaps from the bottom row and pin them together. I also marked on the crease to I could see it clearly.
Fold the top row under the bottom row and leave the flaps up.
Stitch on the marked crease line.
When you get to a middle you may need to manipulate it a tad to make sure they match up perfectly. We don't want holes if we can prevent it.
Now we have our first half sewn together.
Next we stitch down the inside triangle flaps. Make sure not to stitch down any of the outer triangles as we will need them to open later on. So corners you are stitching down 2 of the triangles and the two inner squares we are stitching down 3 triangles. I do about 2-3 stitches per triangle.
Here is a close up of one that you stitch down 3 of the flaps.
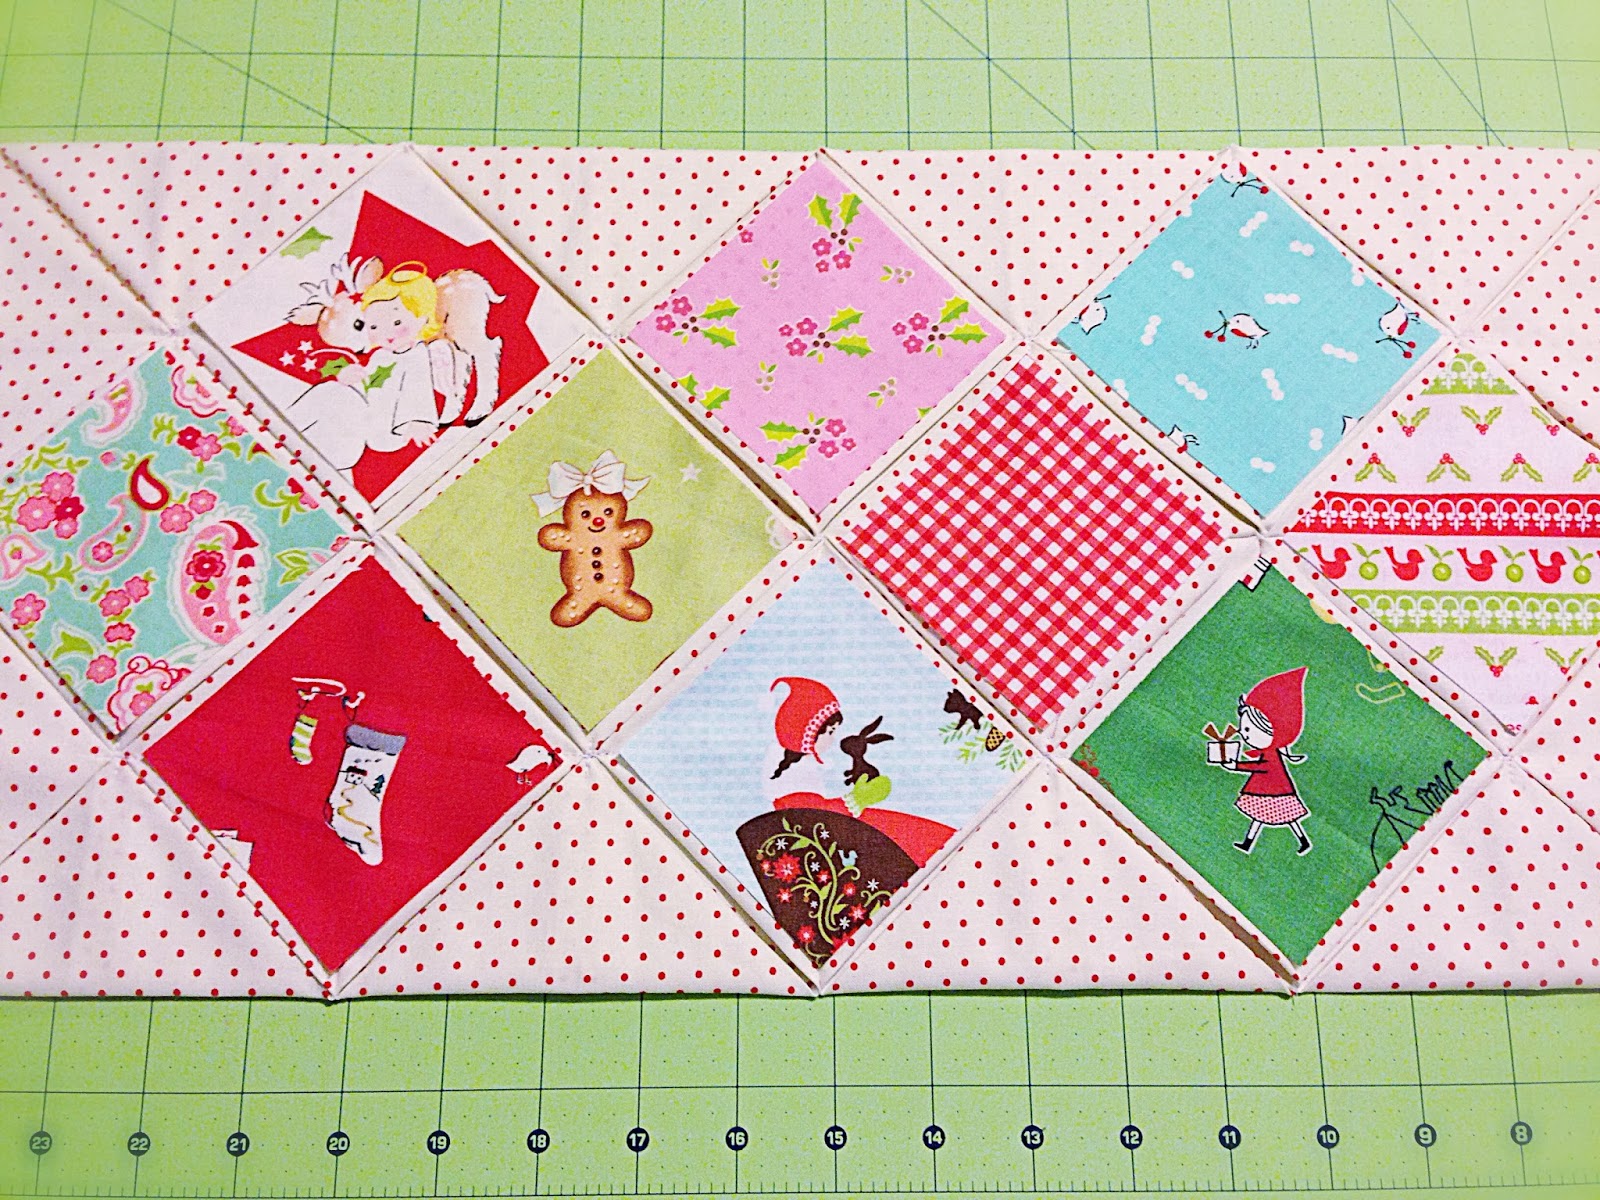
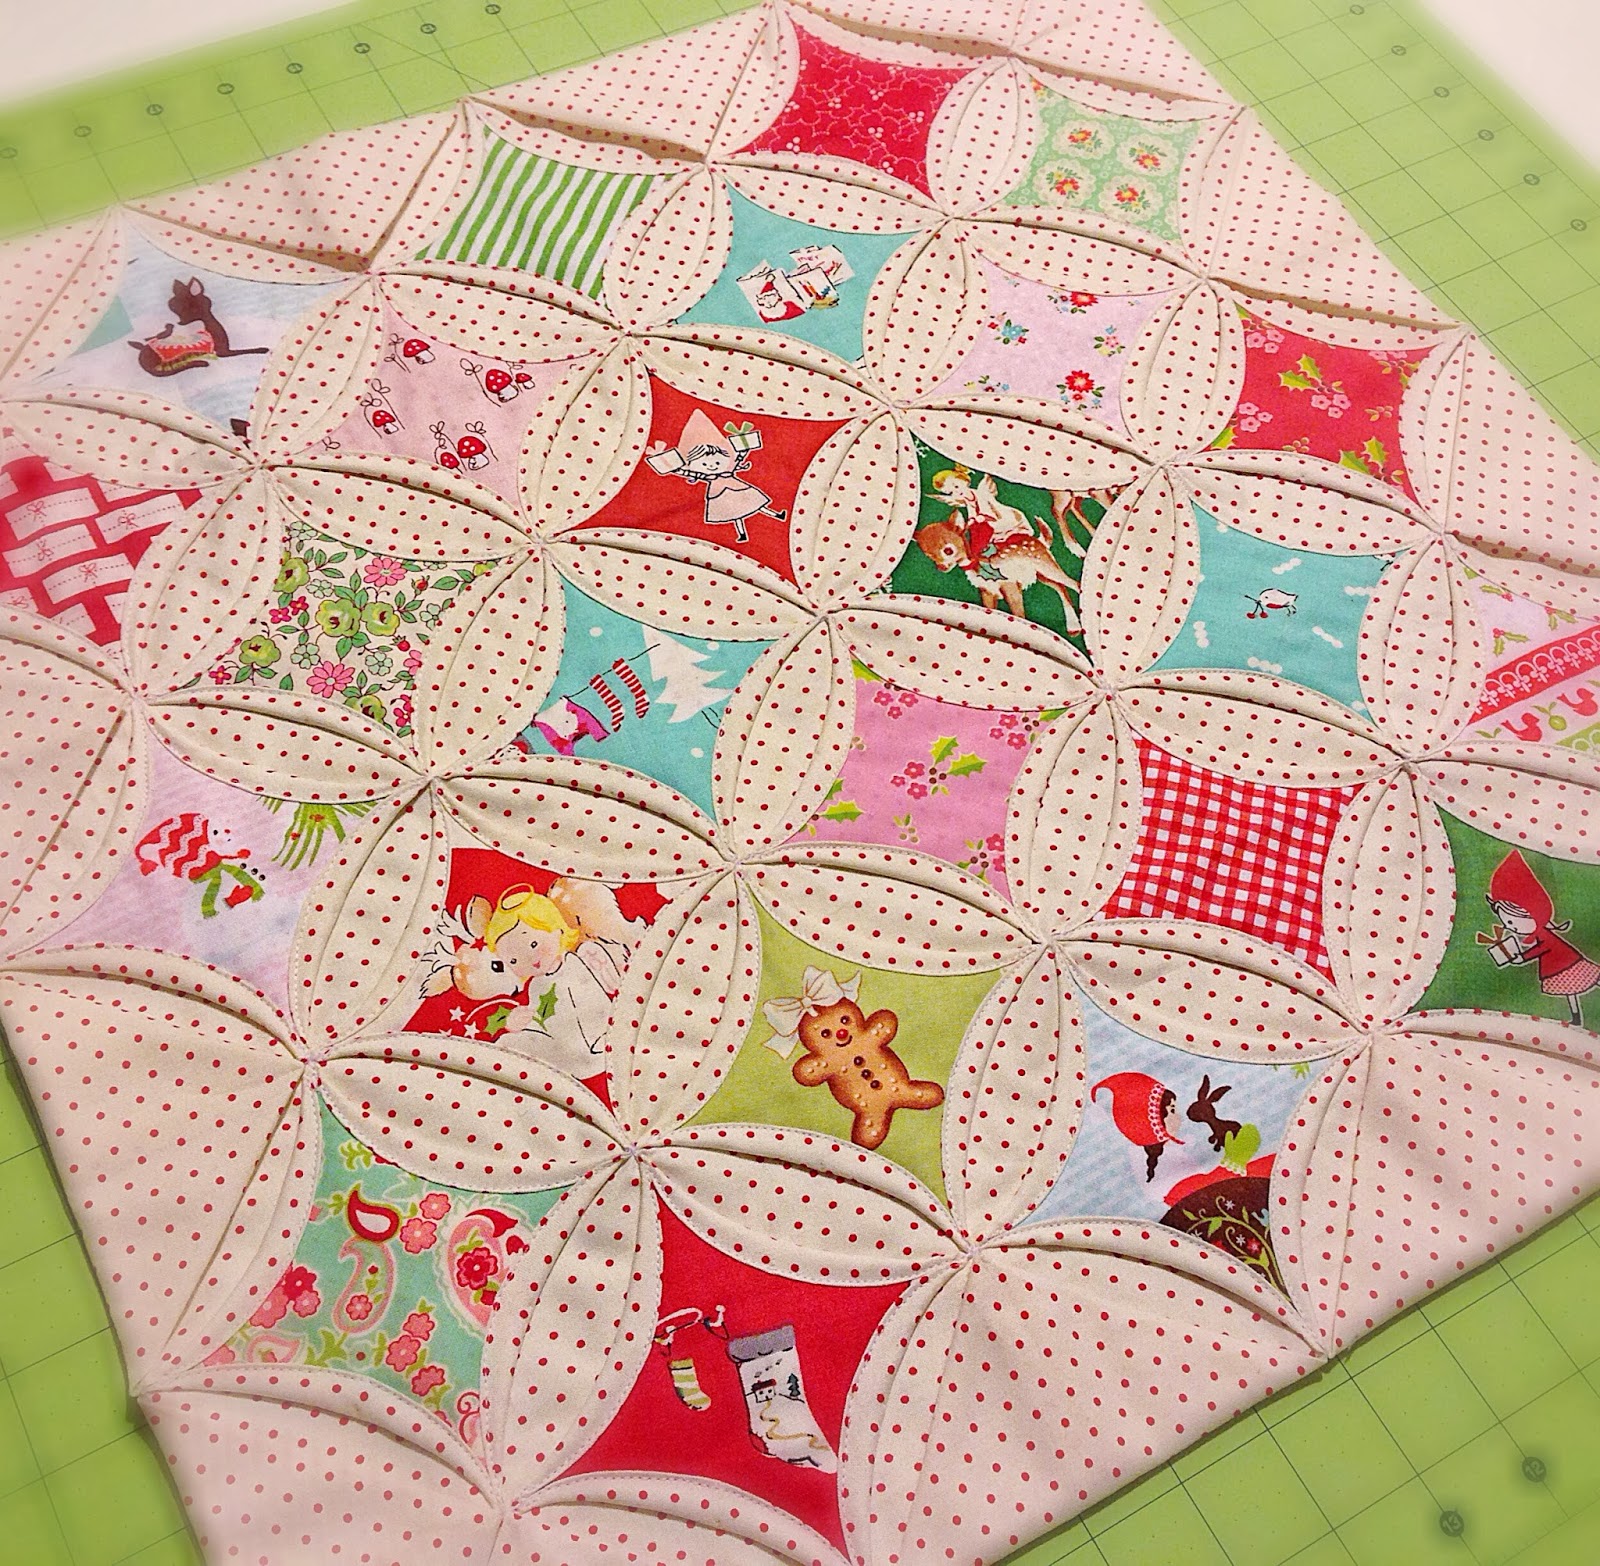
Now I layout how I want my pattern and fussy cut squares to be. Set aside all of them in order except the first one.
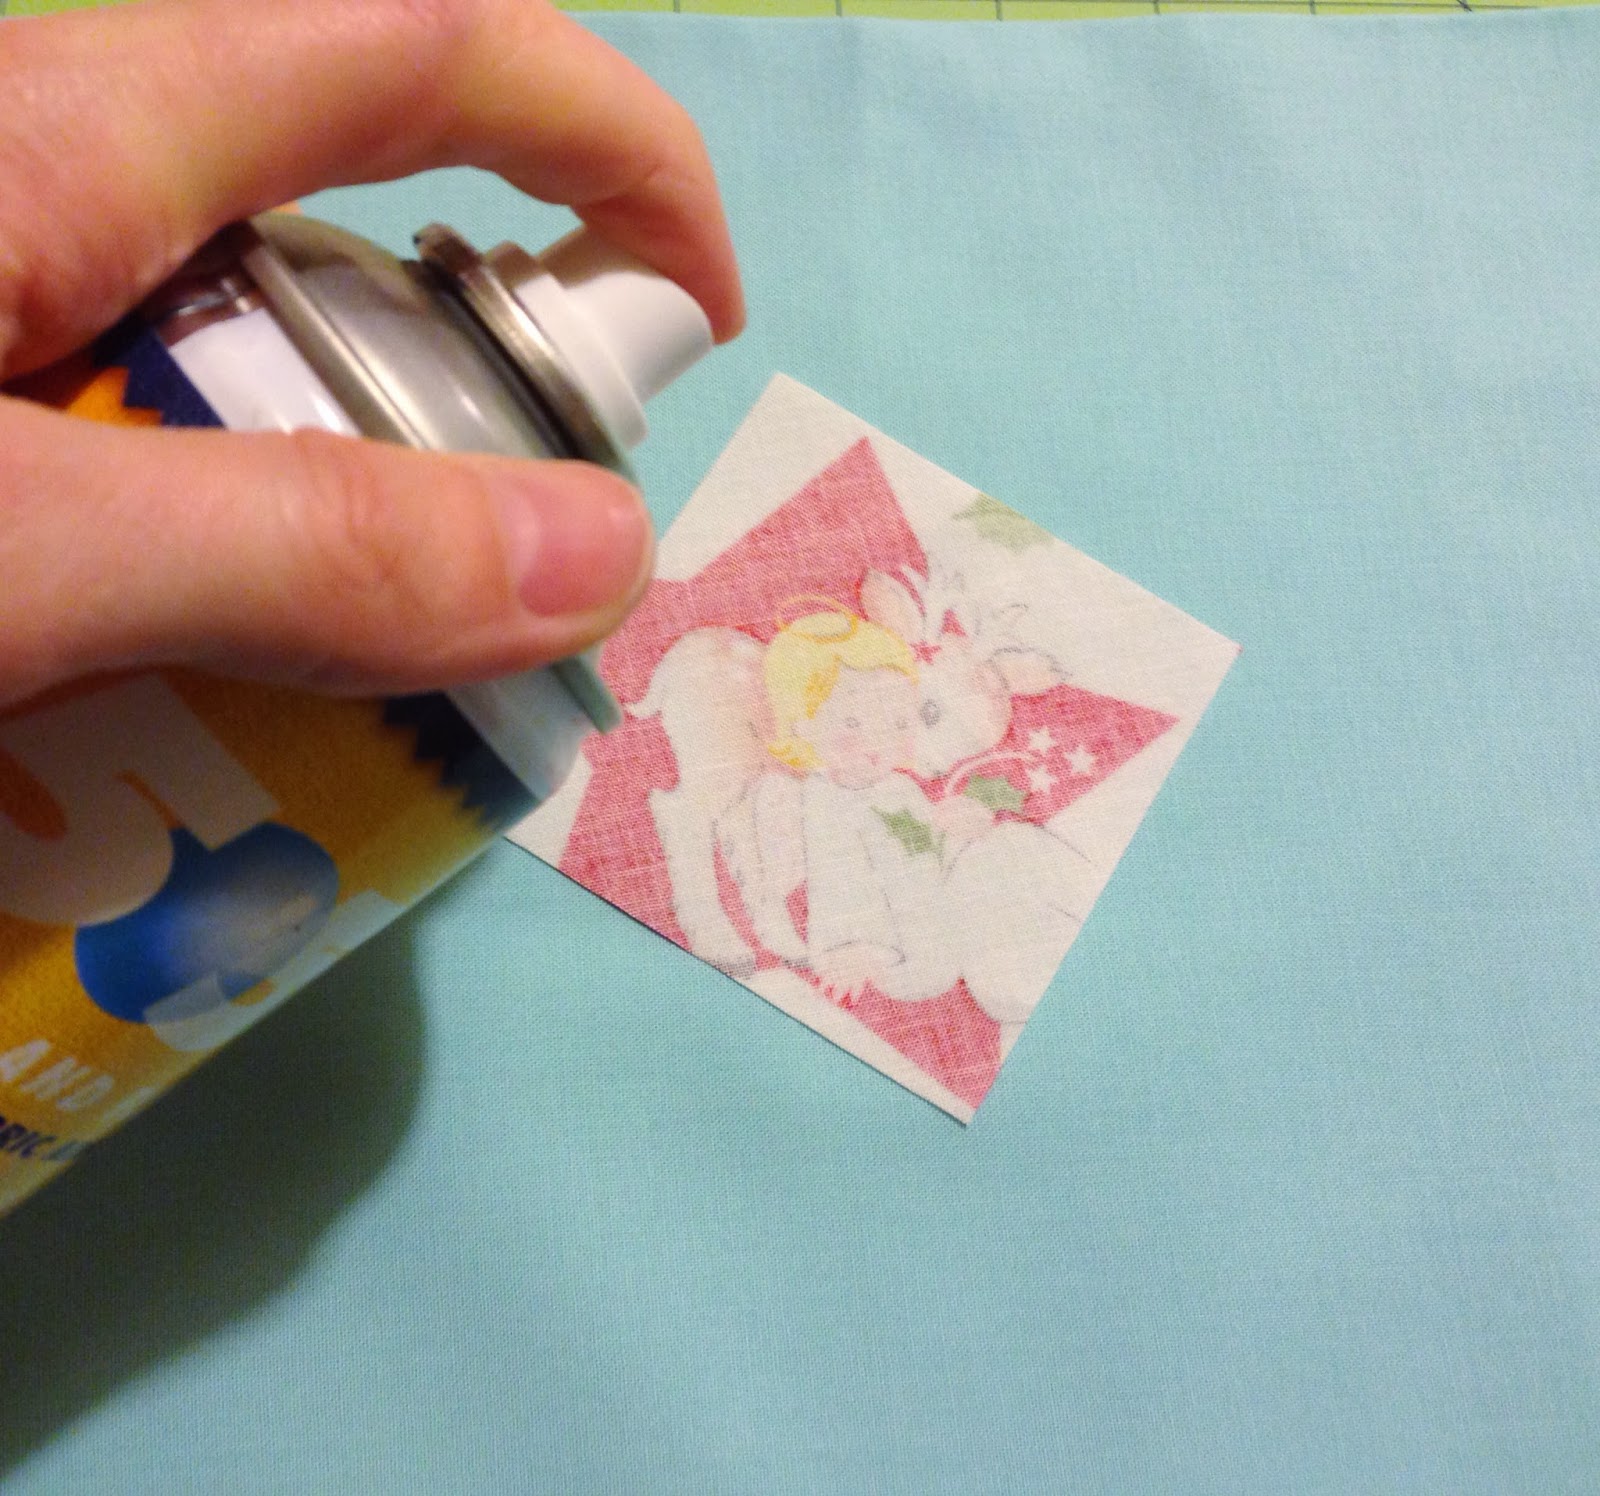
This is optional. I like to use spray adesive on the squares so they don't move around at all. If you prefer you can pin them or even use a glue stick.
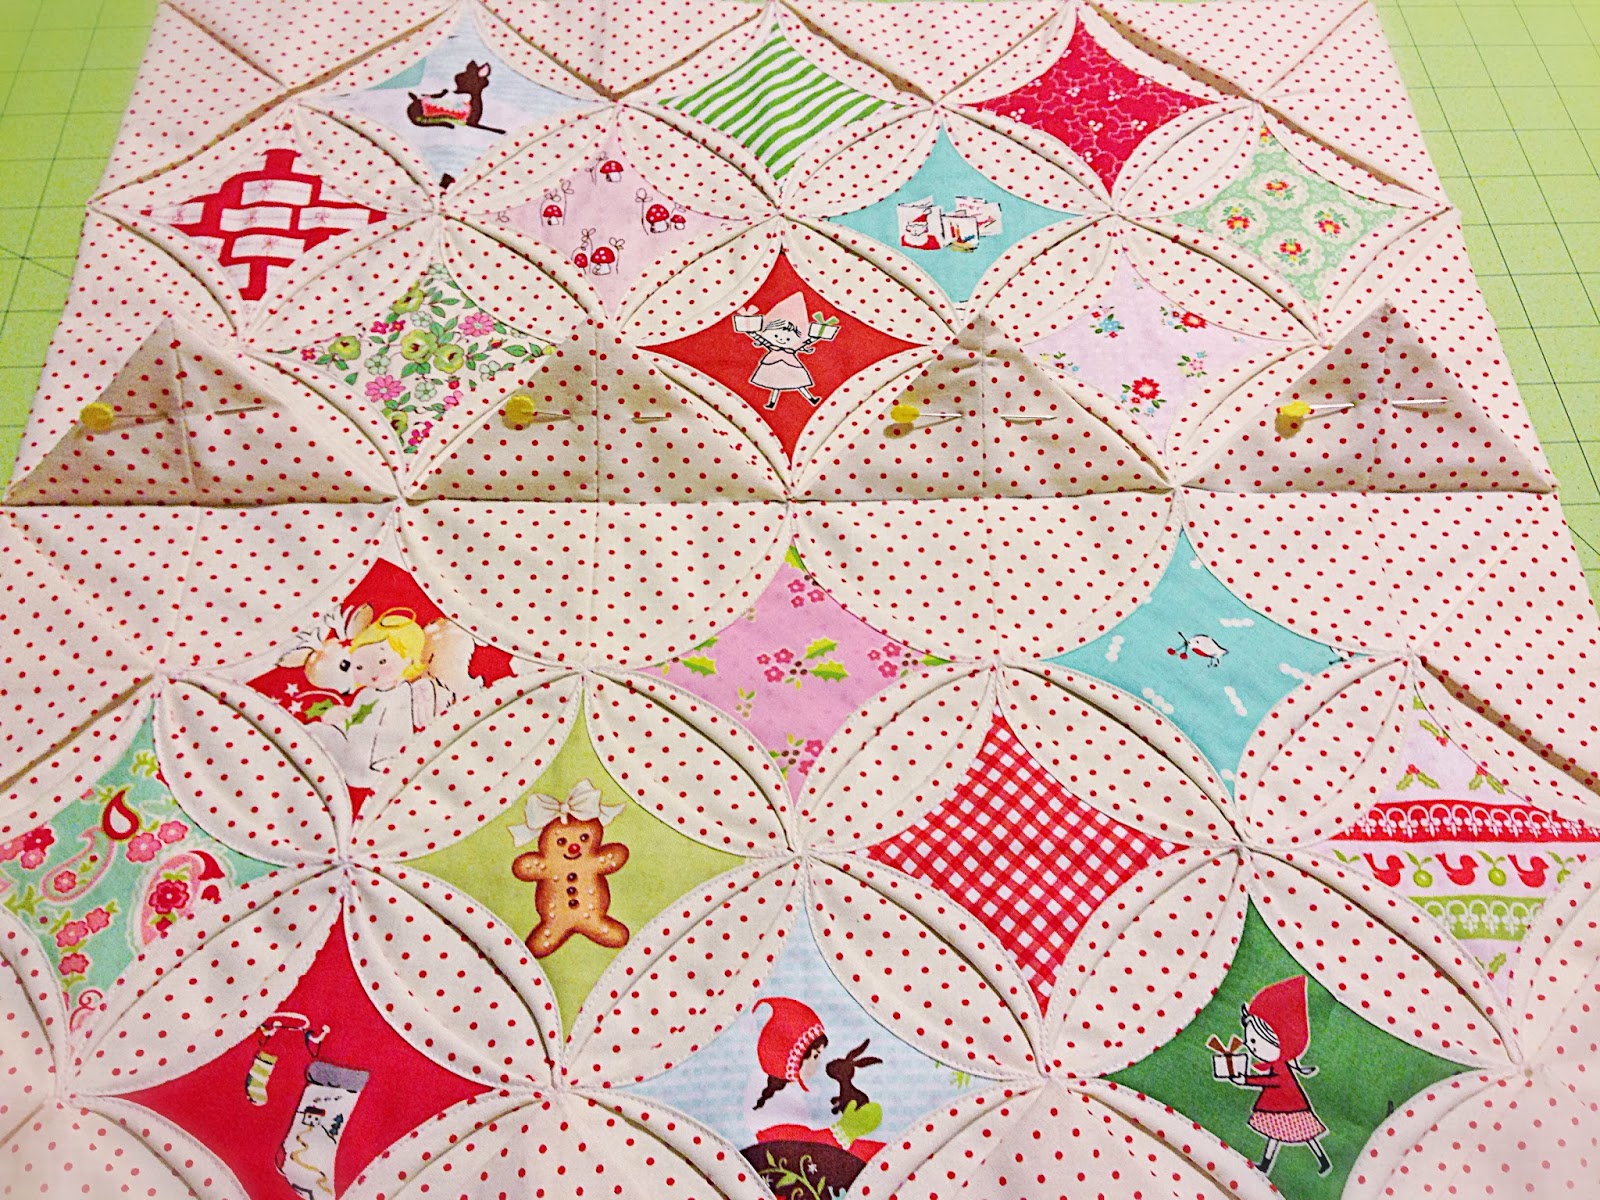
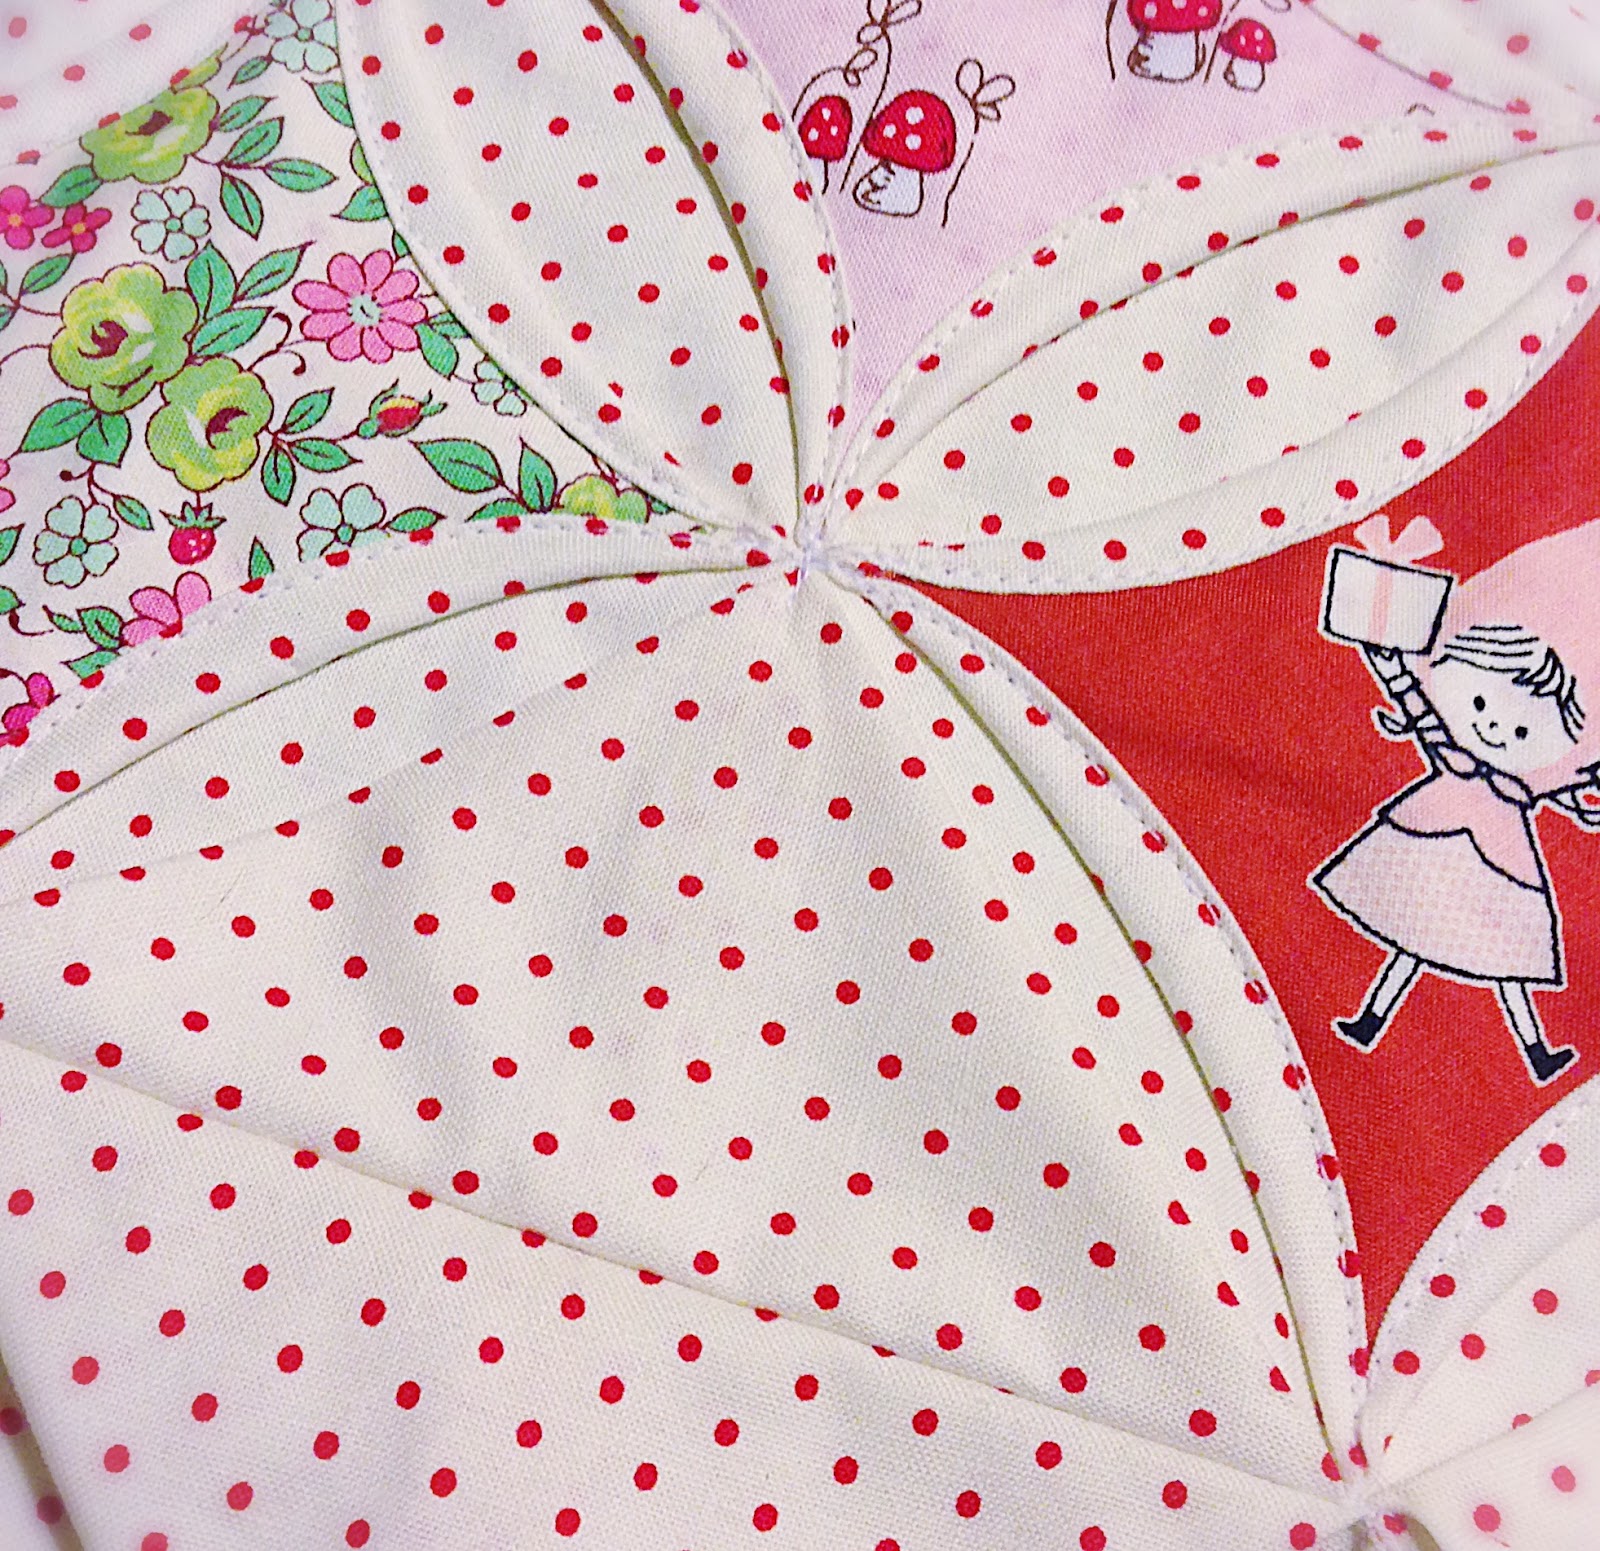
Place your square in the middle of the window.
Turn the flaps in towards your window and pin the center in place.
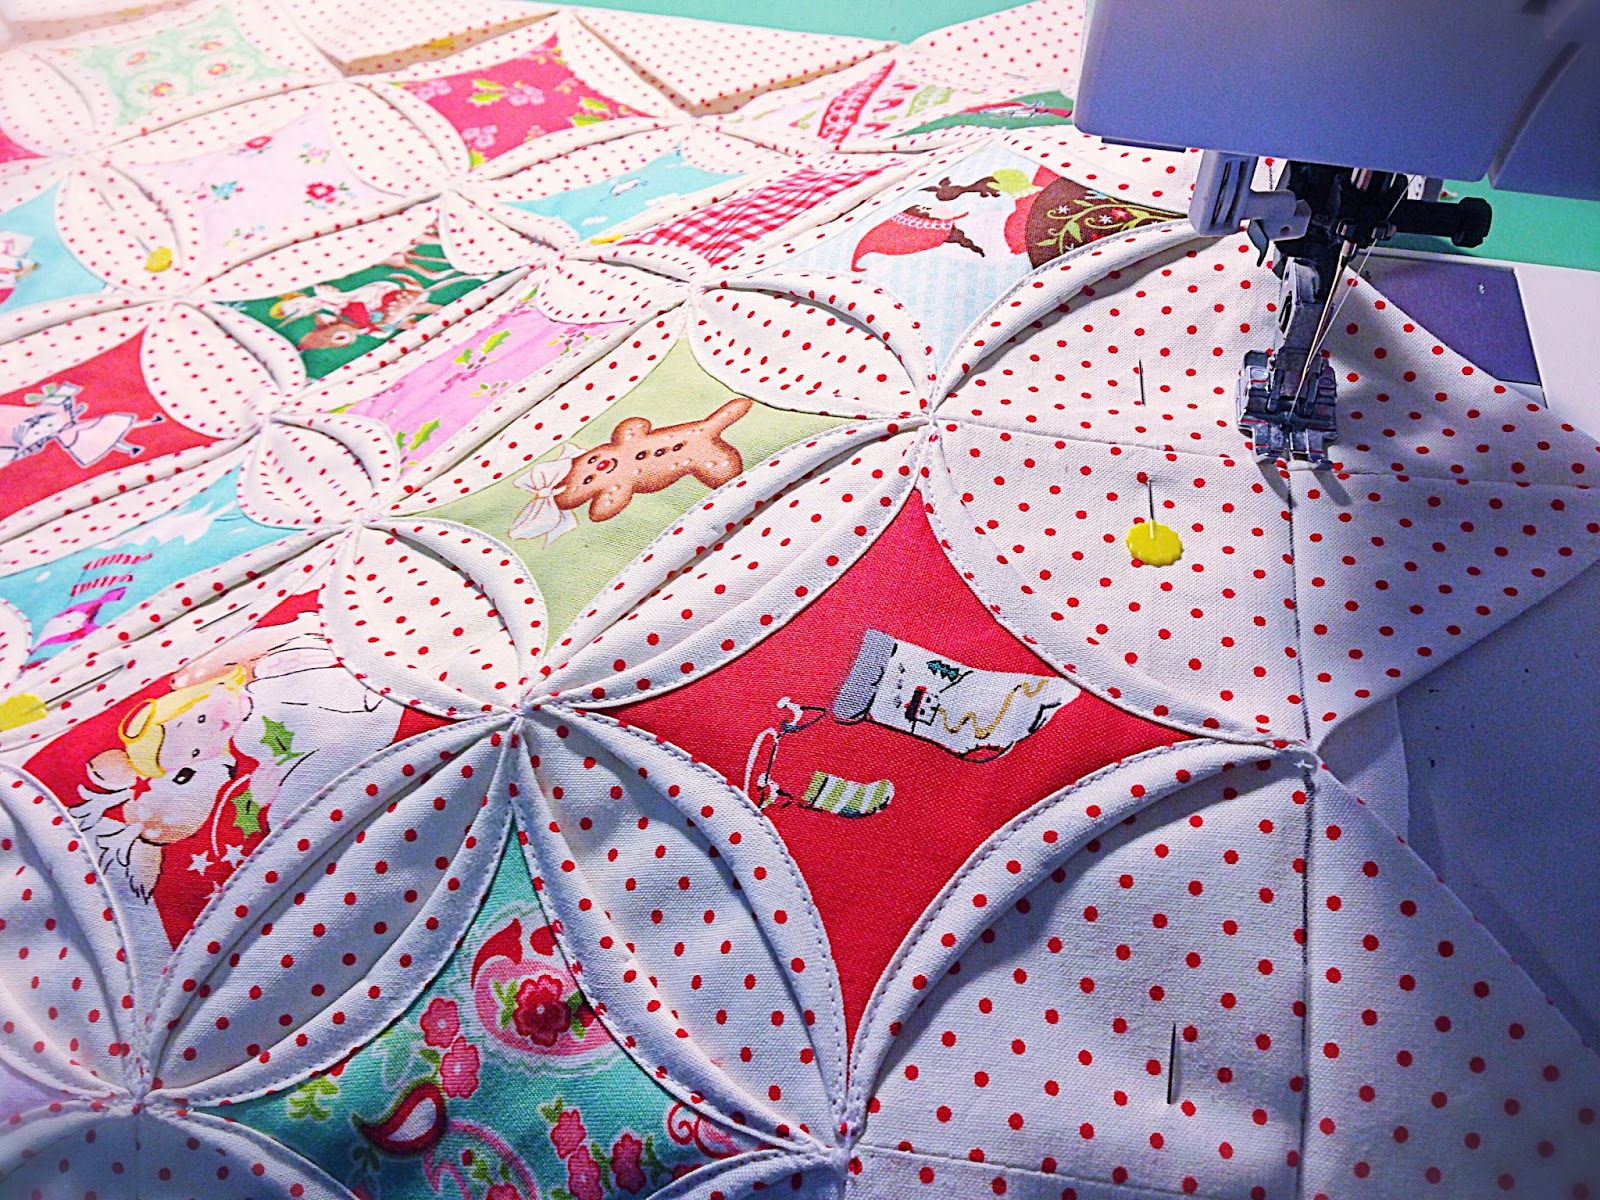
Start at one end and start stitching around your window as close to the edge as you can get. I reduced my stitch length just a little to help with the curves.
Continue stitching your windows till you have all your windows in place.
Now you need to follow all the steps above and make your second half to your pillow.
Once you have both halves completed you pin the top and bottom triangle flaps together. Also make sure to mark your creases again so you can see them clearly.
Turn the top half under the bottom half with the triangle flaps sticking out. This should all be pretty familiar now.
Stitch on the marked crease. Make sure again that the middles match up. You may need to manipulate them a little to get them perfect.
Now stitch down those flaps but leave all the border flaps open.
Stitch the rest of the windows in place. Now you have your top almost done!
Take your 22 X 22 inch square and trim it so there is a 1/2 inch around each side. This will end up being your seam.
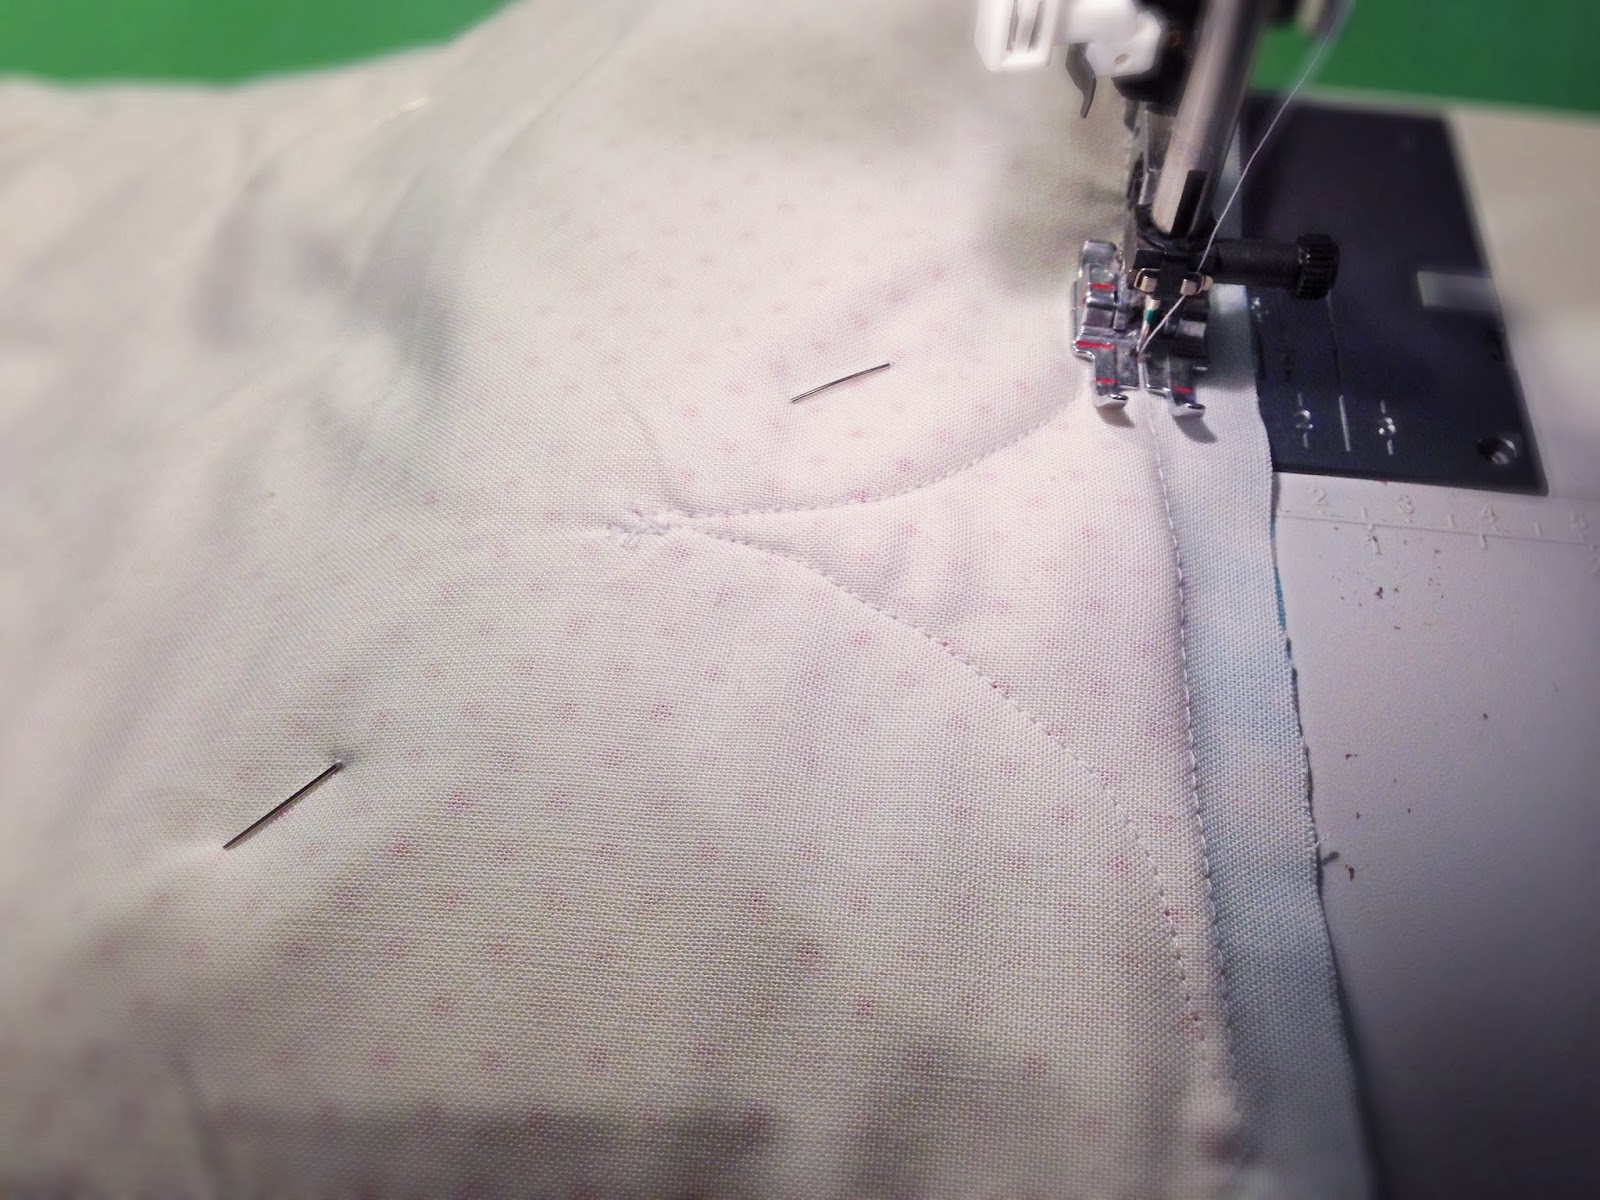
Open up all your triangle flaps on the outside and pin on the inside of each one. I also mark on the crease here too.
Stitch along the marked crease the whole way around the pillow.
Stitch down those last triangles.
Stitch down the empty windows on the edges and corners. Here I didn't even pin but if you want you can.
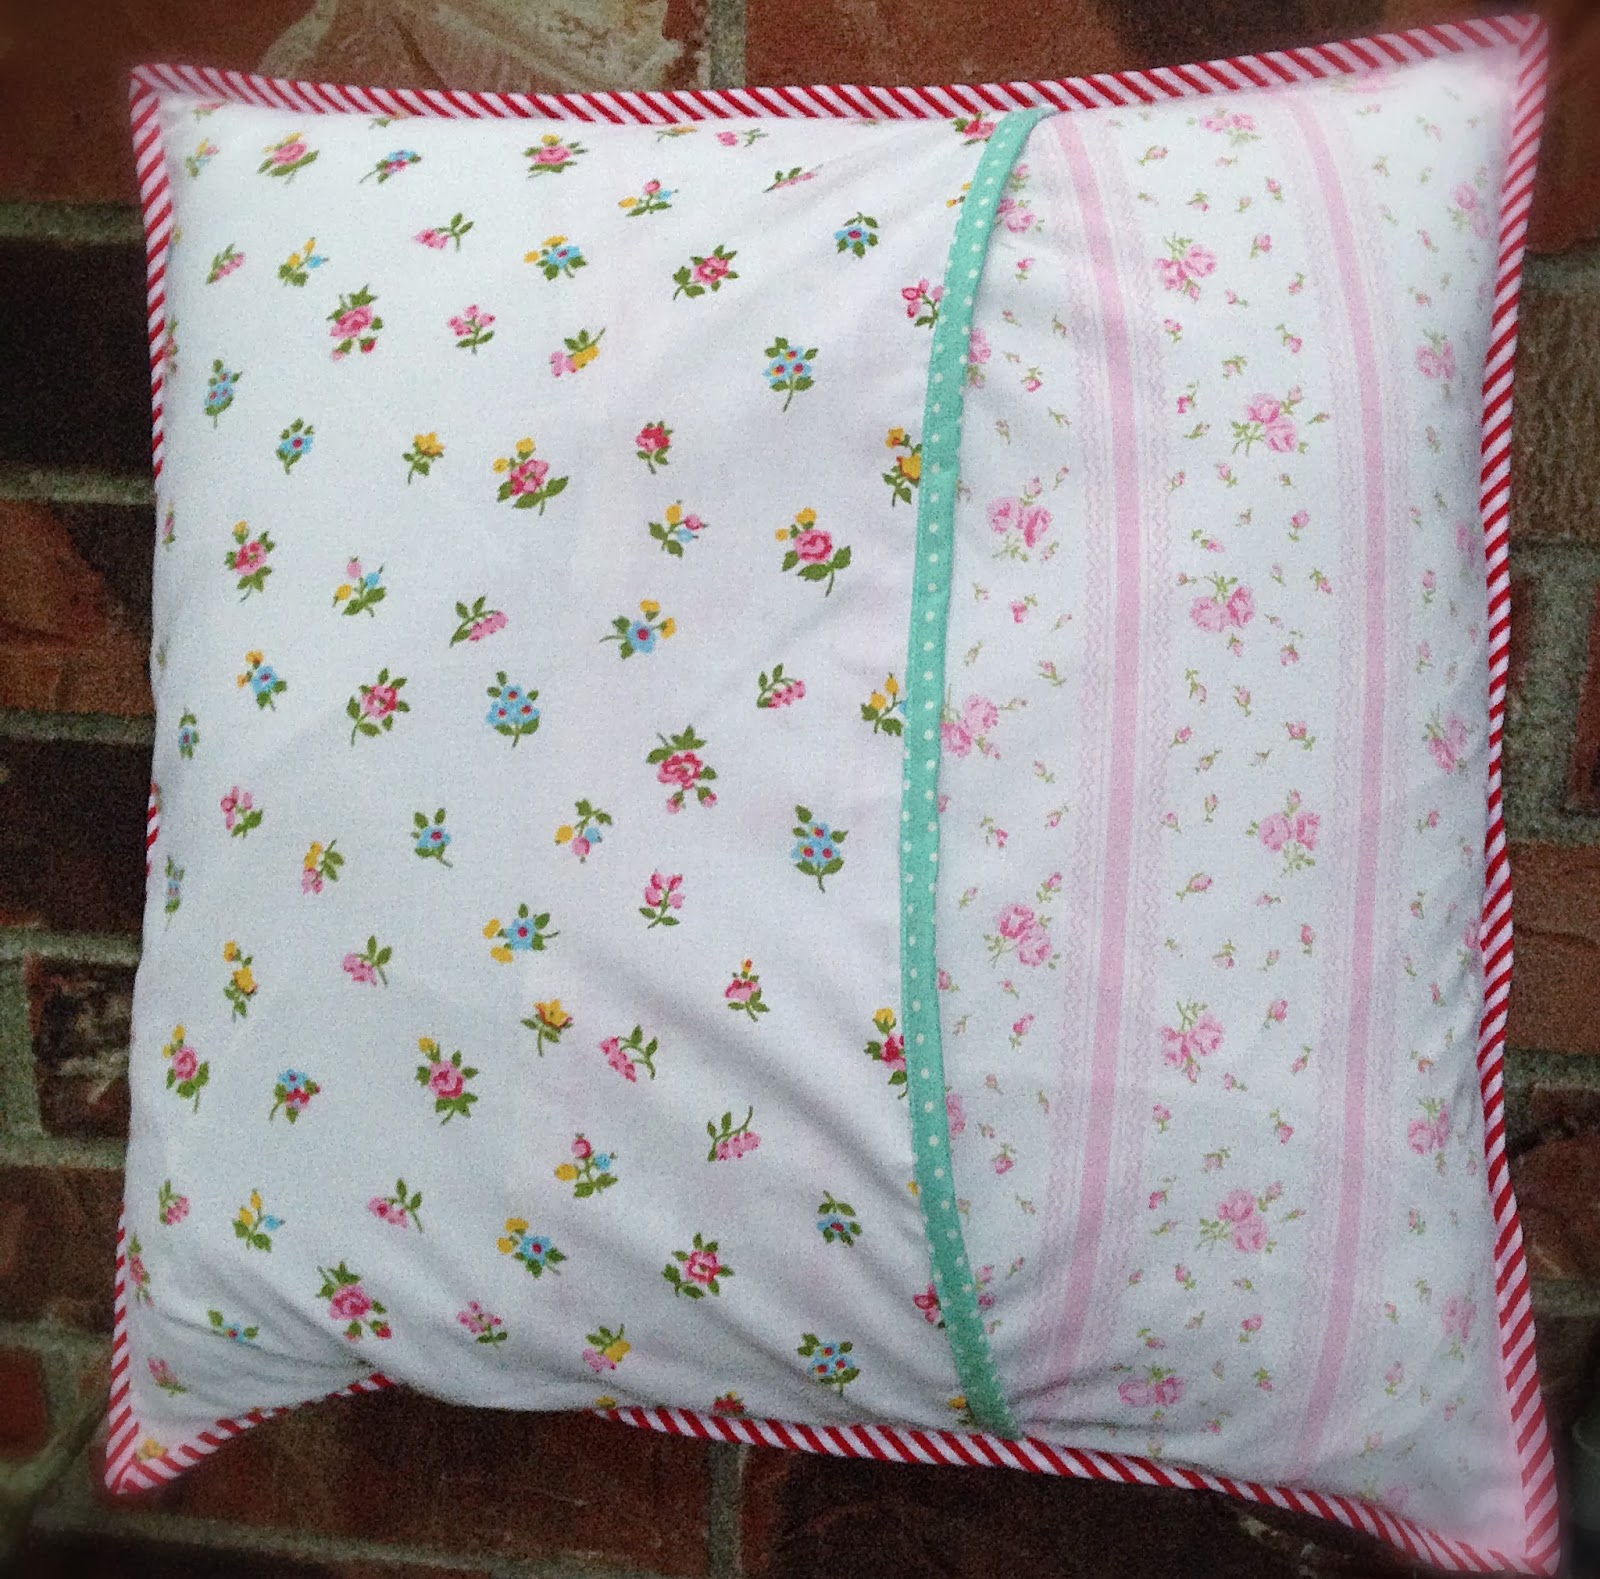
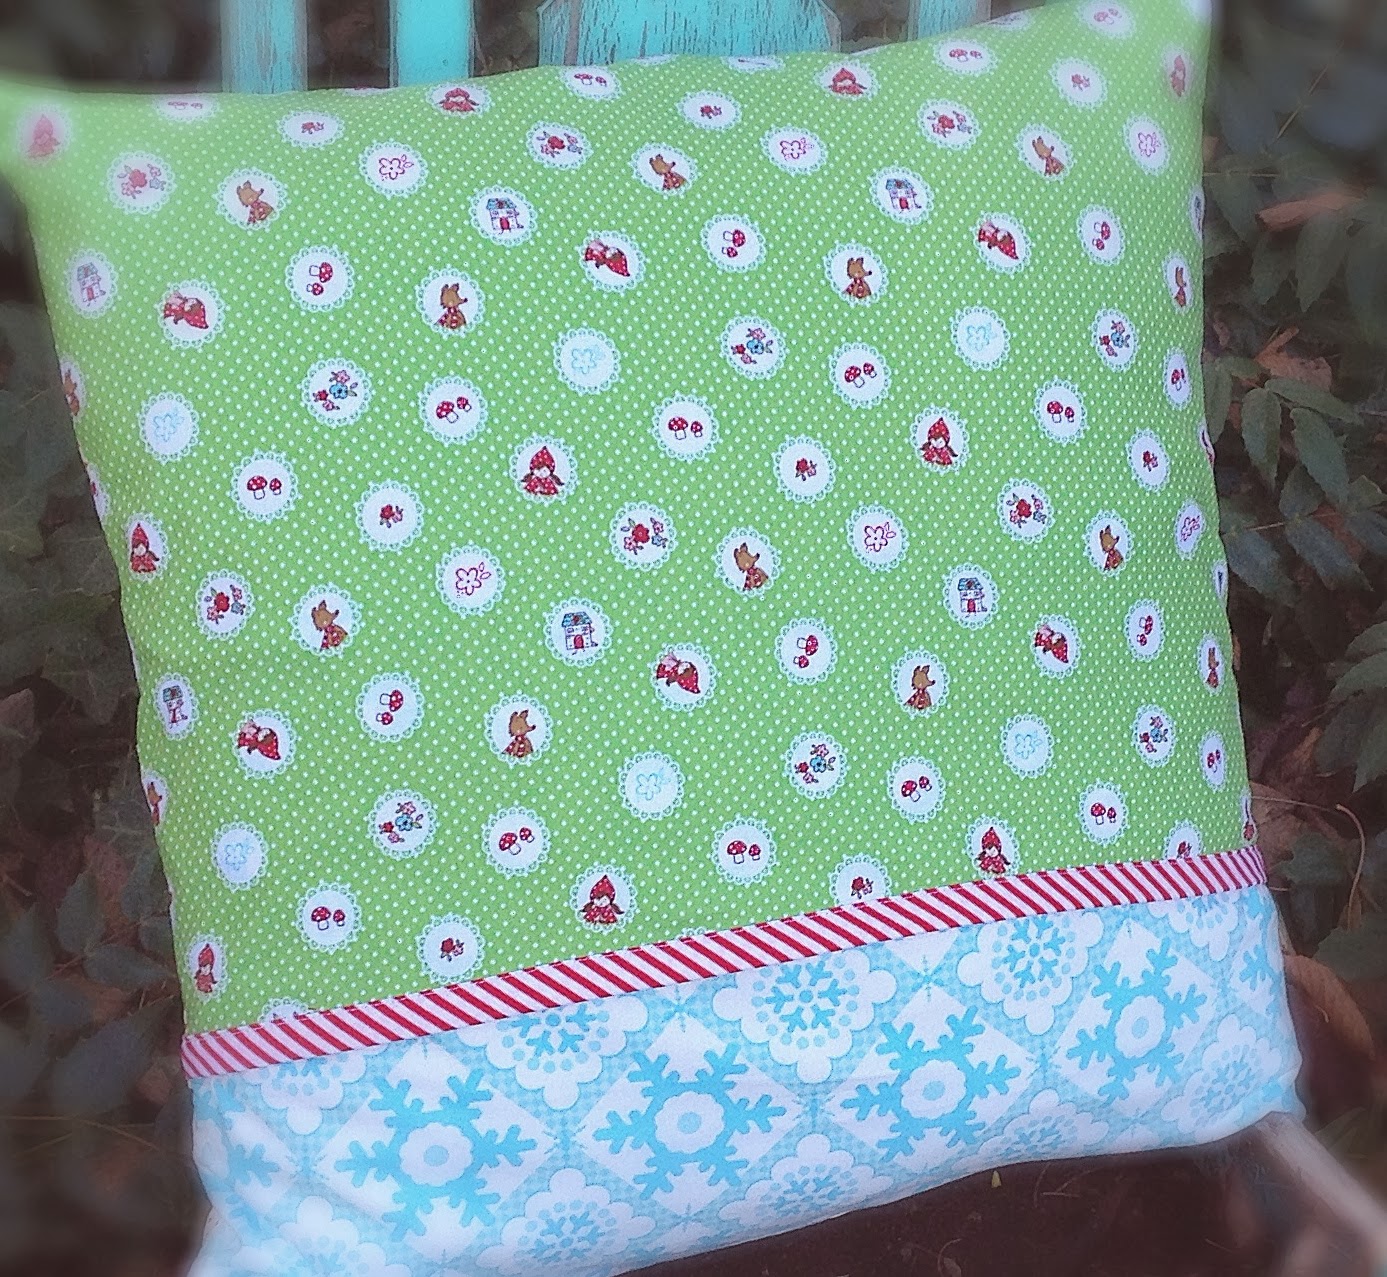
Next I pinned on my backing. I did an envelope backing but you can do a zipper backing or a button closure. What ever you prefer.
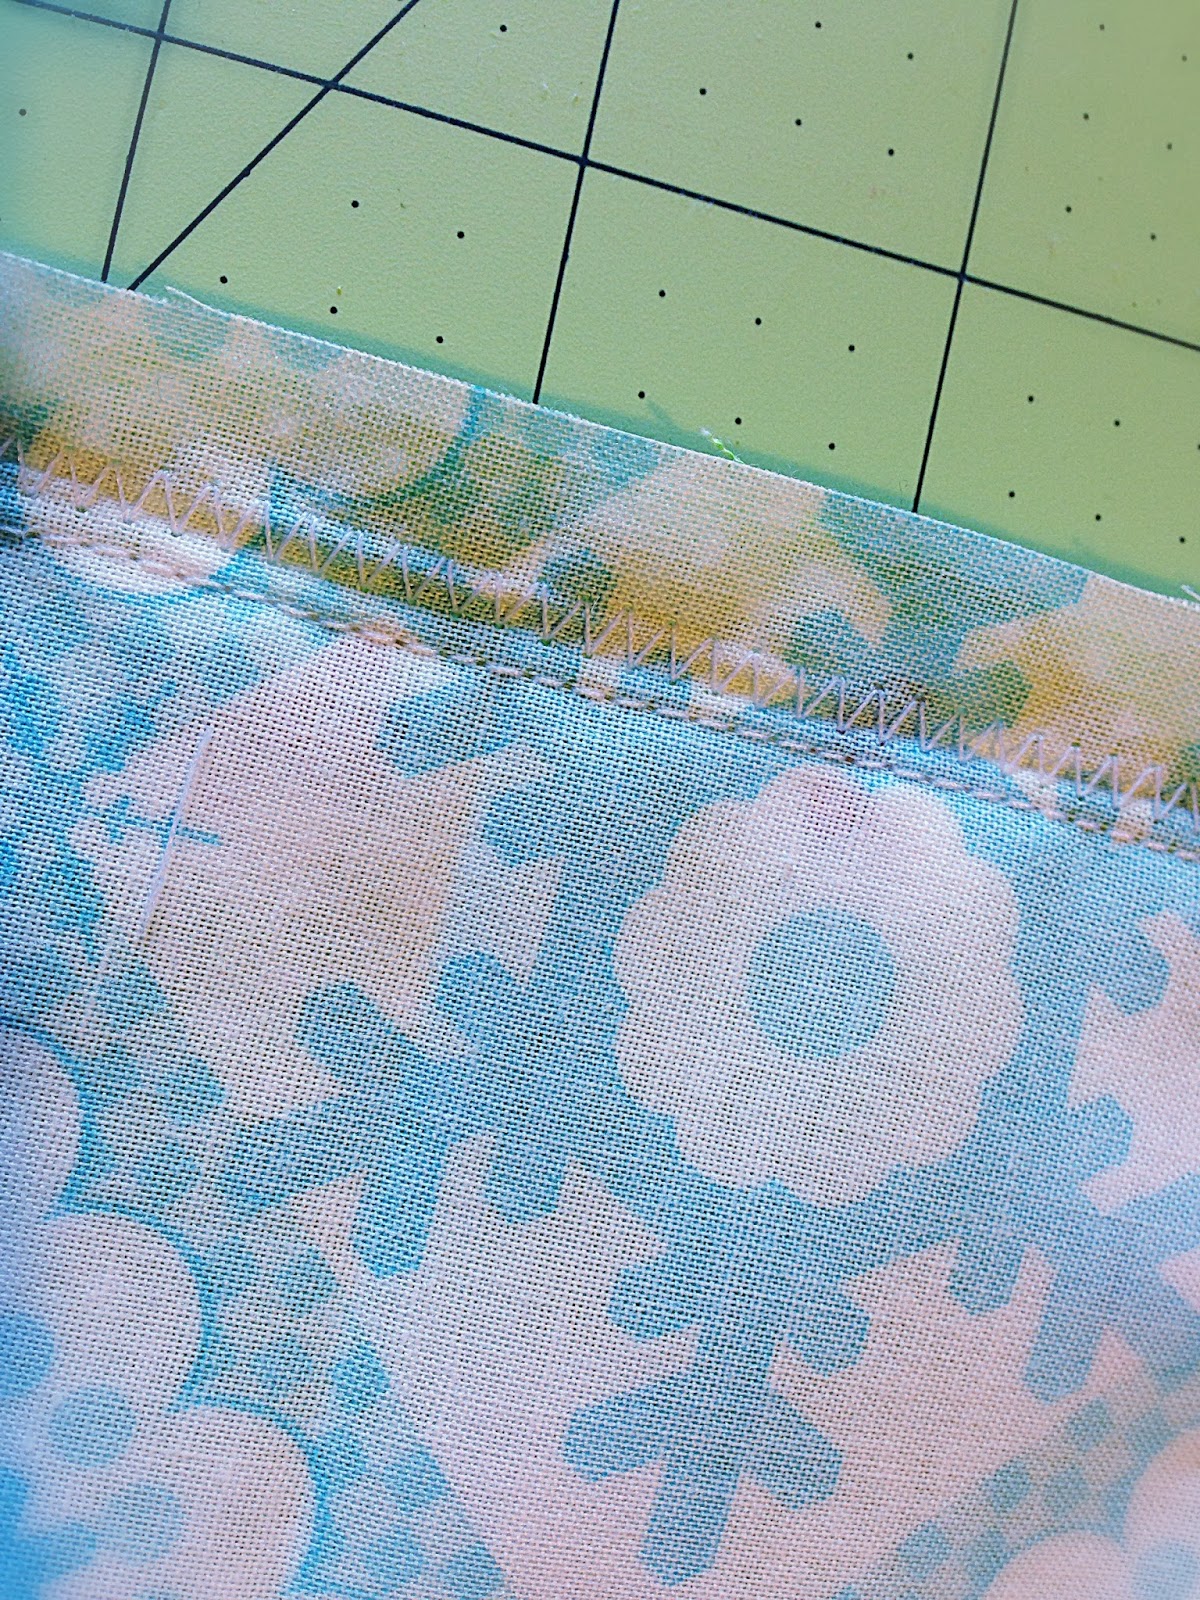
Then you turn your pillow around and stitch right inside the stitch line that is already there.
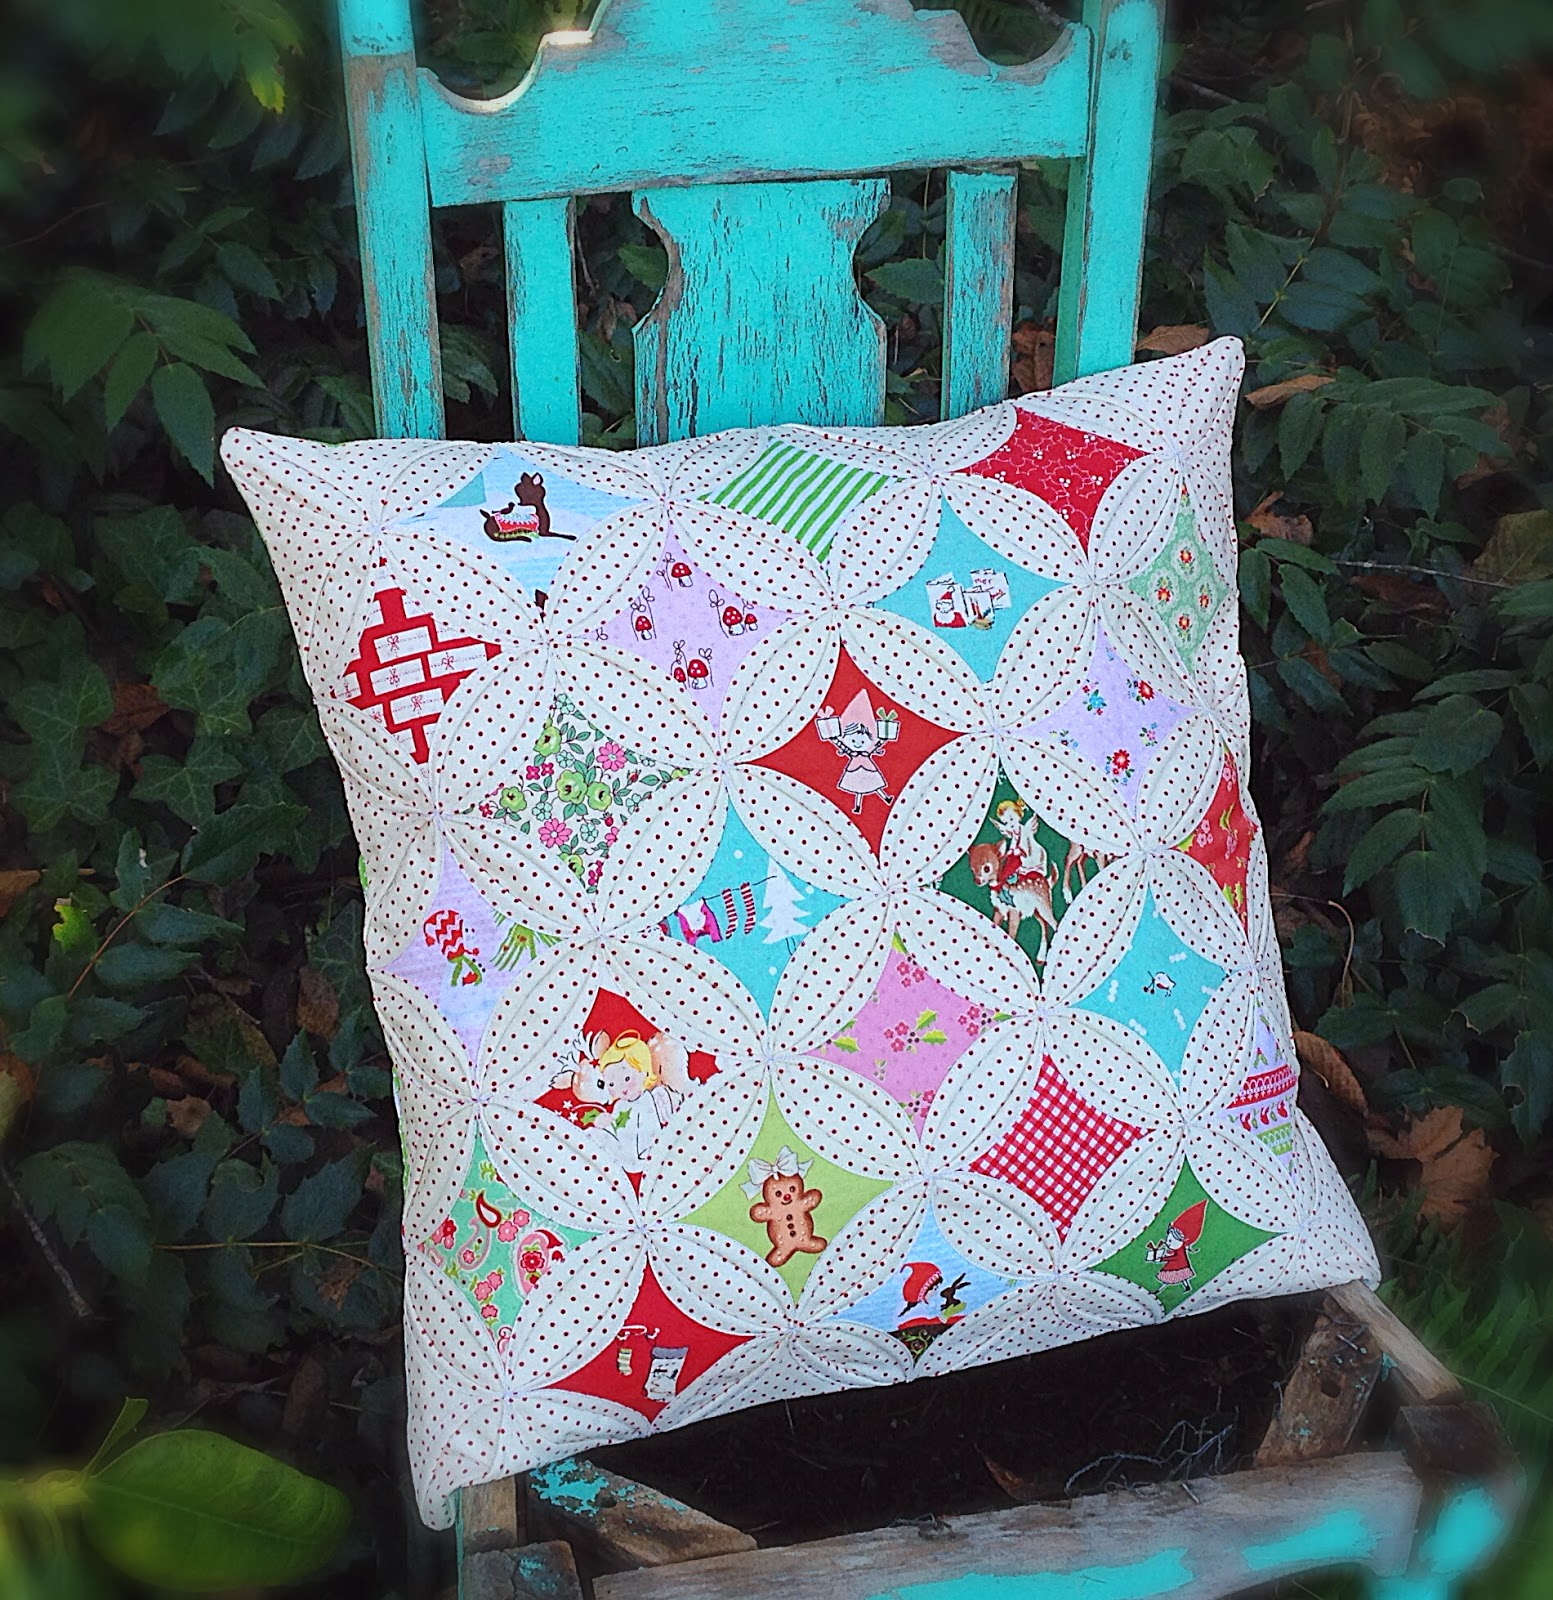
Since there isn't a binding on this pillow I did a zig zag stitch around the entire edging. Then you turn your pillow right side out and you are done!!! Yippee!!!
I love all the cute windows!
The back
I hope you didn't mind it being such a long tutorial. Let me know if you have any questions or if anything is confusing. I'd love to help.
If you made it to this point, thanks so much!! I hope you enjoyed the tutorial! :)
Hugs,


.JPG)
.JPG)


