Wednesday, August 29, 2012

a magic pillowcase tutorial!

A couple weeks ago I did some sewing with my girls and a couple of their friends.  We made some easy peasy pillowcases.  The girls called them magic and thought it was so neat how we made them.  I'm not sure if most everyone knows this method, but if not I thought I'd share how I did it.


Fabric you need~

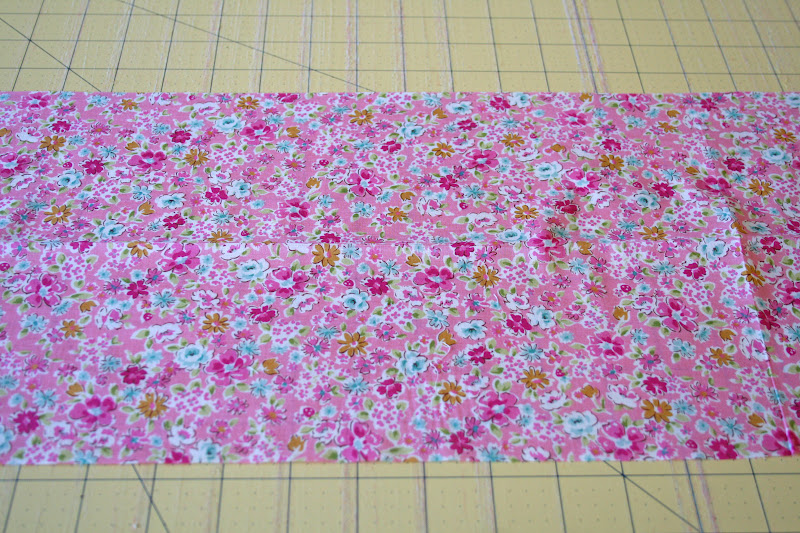
3/4 yard (27 inches) of the main fabric
1/4 yard (9 inches) of coordinating fabric for the cuff
2 inch strip of solid fabric for trim or 44 inch long crochet trim

Cut all your fabrics and press.  Trim off the selvedges so they are all the same width.  I layer my 3 fabrics with the folds matching up and then trim all three together.

Press your 2 inch strip (to make a 1 inch strip) and your 1/4 yard cuff strip in half with wrong sides together and right sides facing out.

 Unfold your cuff fabric and lay it out with the right sides facing up.

Place your main fabric on top of the cuff fabric with right side facing up, and then the 1 inch folded strip on top of the main fabric.

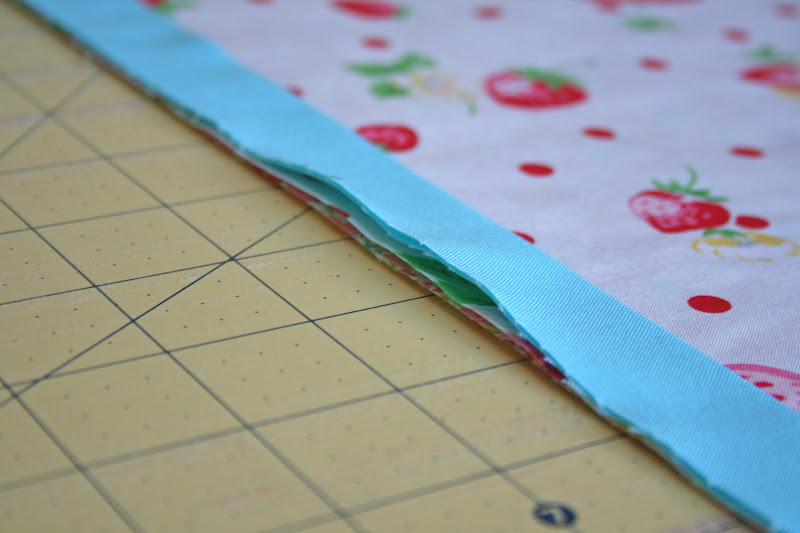
  Match up the raw edges.

This is how it should look at this point.  Now comes the magic part!  :)  Take the bottom of the main fabric and start rolling it up.

 Roll the main fabric to the center of the cuff fabric.

Take the bottom of the cuff (pink floral) fabric and bring it up over the roll and match up the raw edges so you have a tube.

Pin your 4 layers. The bottom cuff, the main fabric, the trim fabric and then the top layer of the cuff fabric that wrapped around over the roll.

See how it is a tube.

 Sew a 1/4 inch seam.

Pull your main fabric out from the tube.  Now you have your cuff, trim and main fabric sewn together!  Its magic I tell ya!   :)

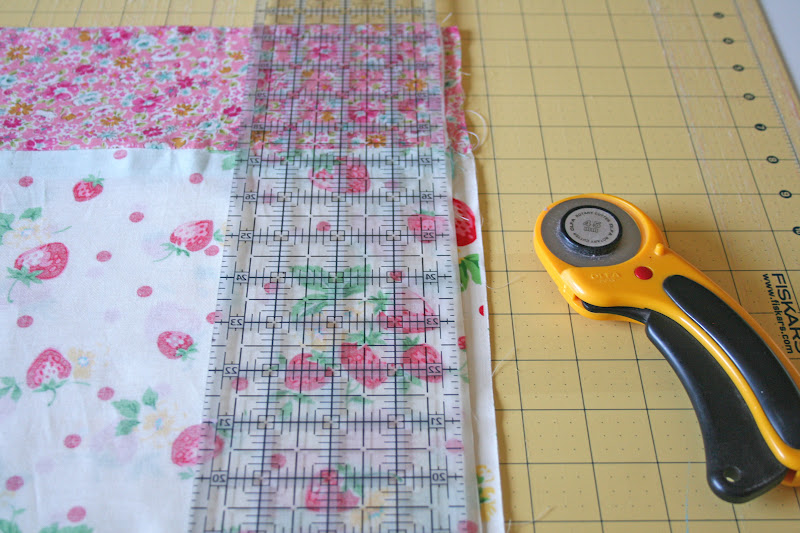
Now trim off the uneven edges.  I had it folded like a pillowcase with right sides together and then trimmed.


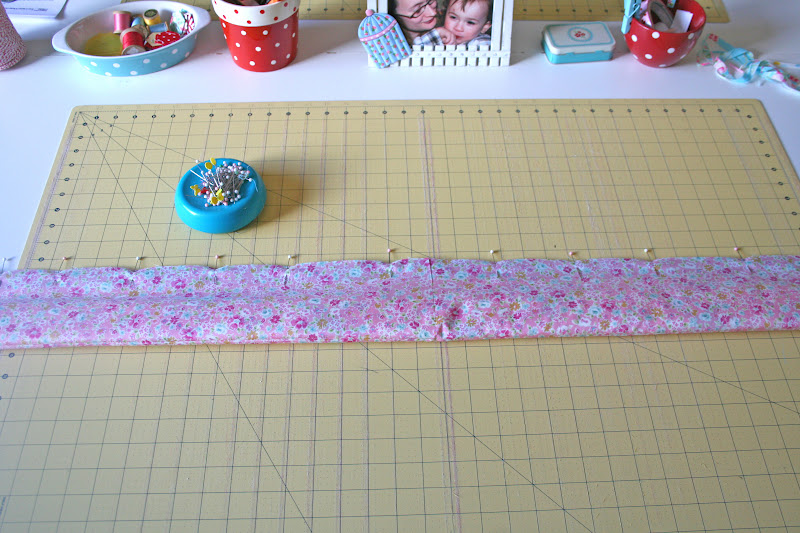
To sew the edges of the pillowcase together using a french seam fold 
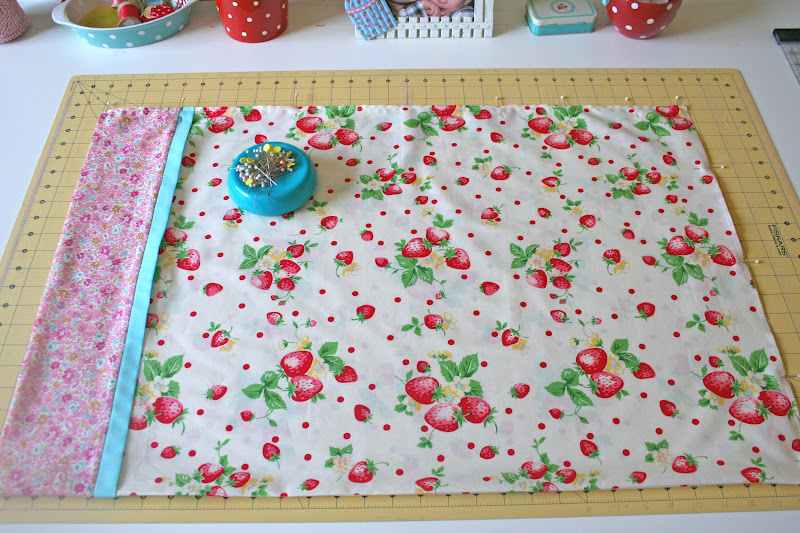
your pillowcase in half the other way by placing wrong sides together (right sides facing up).  Pin along the side with the raw edges and the bottom that has the raw edges.


Sew a 1/4 inch scant (a little smaller than a 1/4 inch) around the edge and bottom to enclose your pillowcase.

Turn the pillowcase so the right sides are together and wrong sides are facing out.    Press.

Sew a 1/4 inch seam around the side and bottom.  The french seam encloses the raw edges.

Yippee,  we're all done!!  Wasn't that easy peasy!  :)

If you prefer to do a  regular seam instead of a french seam, just sew a 1/4 inch seam and then I advise to do a zig zag stitch since pillowcases are washed often.

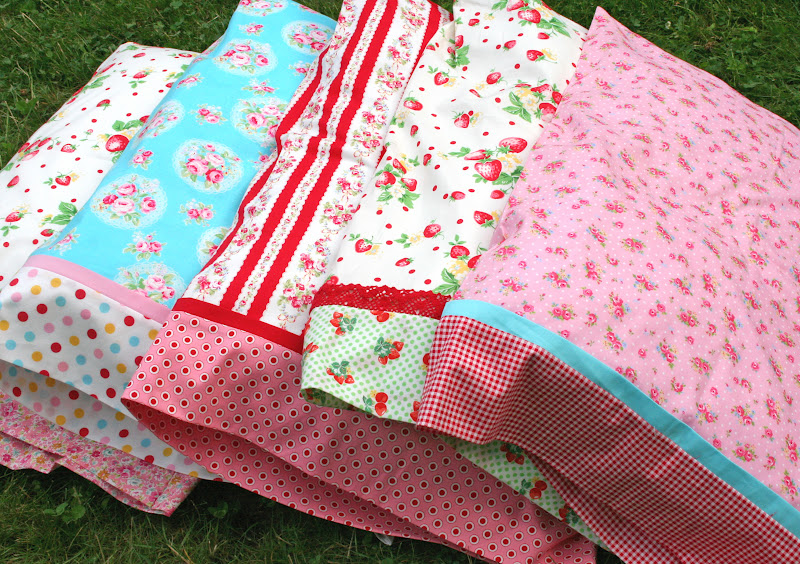
For extra sweetness you can add crochet trim.  I just love this delicate touch!


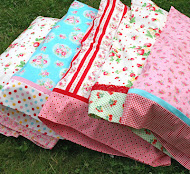
Now have fun making lots and lots of them.  :)


And for special occasions like going camping!  :)

My sister in law, Katrina and I had fun making these cute boy ones last night for our camping trip we are having over labor day!  Our boys were so excited to see that they get pillowcases too! 

I hope everyone has a wonderful week and enjoys the holiday week-end!


Monday, August 27, 2012

a winner!


# 48

I am a Follower of your delightful little blog home.. :)


Yippee for Ruby Jean!!  Congratulations, my friend!   I just set up a listing through my etsy shop for you.  All you need to do is add it to your cart and when checking out mark "other" for payment.  :)

Thanks everyone, for participating in my little giveaway!  I loved reading all the comments, and hearing about what you'd make with the pretty fabric.  You gave me LOTS of ideas!! 

I'll leave you with some pretties that have been inspiring me on Pinterest lately.


I hope everyone had a lovely week-end and is having a magical Monday!  See you in a day or two.  :)

Hugs,


Thursday, August 23, 2012

atsuko lawn fleur GIVEAWAY!

This week I received some of the prettiest lawn fabrics! It reminds me of the beautiful Liberty Tana Lawn. It is lightweight and has the softness of pure bliss!! Oooh, how I'd love a quilt made from these...surely it is now on my to-do list!


It's been quite some time since I've had a giveaway so I thought these lovely new fabrics would be a great excuse to have one! I'll be giving away to one lucky winner a fat quarter of each of the new Lawn fabrics!!  Swweeet!!  :)

You have 3 chances to win. Choose any 3 of the following~

1. Tell me what you'd make with these pretty fabrics. I'd love to hear. :)
2. Blog about this giveaway
3. Have commented on my blog before
4. Are a follower of my blog
5. Have bought from my Etsy shop, Sew Deerly Loved

Make sure to leave a separate comment for the 3 you qualify for. I'll be using random.org to pick the winners so if you don't leave a comment for each 3 that you qualify for you will only get one chance instead of three.

You have until Sunday evening, August 26th.  I'll announce the winner on Monday.

Good Luck!


Monday, August 20, 2012

sizzlin' hot!

It has been hot, hot, HOT these last couple days with being in the mid 90's.  Here in Washington we only get a few days that hot and with no AC we do our best to stay cool.  With the beach so close we end up spending most our day there.    It is usually a few degrees cooler on the beach and there is such a lovely breeze that makes it much more bearable.  :)


More beach time = more stitching time!  So no complaining from me.

Yesterday I basted some hexies.  1 inch and 3/4 inch.  Today I'll be stitching some 1/2 inch and 1 1/4 inch.   When I was at the beach with Tasha last week we thought a project showing the different size grandmothers flower gardens would be cute.

I had lots of interest about my cute little house sewing box from my last post and wanted to share about it.  It is from Cath Kidston, and I bought a couple years ago online.  Cath Kidston is what got me hooked on the sweet vintage shabby chic style.  I had gotten a catalog and since then my love has grown a ton...as you can see.  :)


This morning I made a cute liner for my wicker bag that I had gotten at a sweet little shop during my beach retreat.  The liner was black and not so cute, so the new Flower Sugar came to the rescue!   Doesn't it make the perfect beach bag!  I it!!

I added some cute aqua ruffle crochet trim from Riley Blake.

 
On the car ride home from Oregon I finished up stitching my jewel stars.  I'm planning on adding a border to it and making it into a lap size like this one of Nettie's.  I can't wait to see it all finished!


Some pictures of our beach trips.  :)

 A little starfish the kiddos found.


The lighthouse at Fort Wardon


For shop news...I received more of the Antique Flower in Pastel.  I had been on a waiting list and am so excited that I got more!!  I had lots of convos asking if I'd be getting more so wanted to let you know I got it.  Yippee!!


I've listed them as fat quarter bundles right now to make sure there is enough for everyone who missed out the first round.


Hugs,